


![[REPLACEMENT] PAIRED HOT ENDS FOR SNAPMAKER J1/J1S (0.2/0.4/0.6/0.8MM)](http://eu.snapmaker.com/cdn/shop/products/J1__1_1000_1000_f7d7fea5-9158-44bf-9263-328db6b9980f.png?v=1755763085&width=460)

FAQs

![Heißes Ende für Doppelextrusionsmodul]()
![HOT END FOR DUAL EXTRUSION MODULE]()
![Heißes Ende für Doppelextrusionsmodul]()
![Heißes Ende für Doppelextrusionsmodul]()
![Heißes Ende für Doppelextrusionsmodul]()
-
![Extruder Hot End Kit for Snapmaker 2.0]()
-
![PRINT SHEET WITH DOUBLE SIDED PRINTING STICKERS FOR SNAPMAKER 2.0]()
Druckplatte mit beidseitig bedruckbaren Stickern für den Snapmaker 2.0
Von €28,99 EURGrundpreis /Nicht verfügbarAuf Lager -
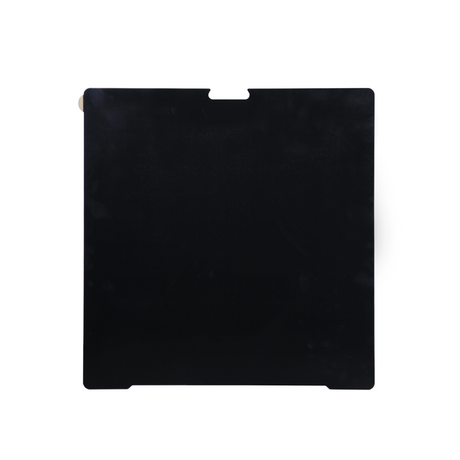
![Dual-sided PEI Steel Sheet with Soft Magnetic Sticker Kit for Snapmaker Artisan]()
![Dual-sided PEI Steel Sheet with Soft Magnetic Sticker Kit for Snapmaker Artisan]()
![Dual-sided PEI Steel Sheet with Soft Magnetic Sticker Kit for Snapmaker Artisan]()
![Dual-sided PEI Steel Sheet with Soft Magnetic Sticker Kit for Snapmaker Artisan]()
Dual-sided PEI Steel Sheet with Soft Magnetic Sticker Kit for Snapmaker Artisan
Von €54,99 EURGrundpreis /Nicht verfügbarAuf Lager -
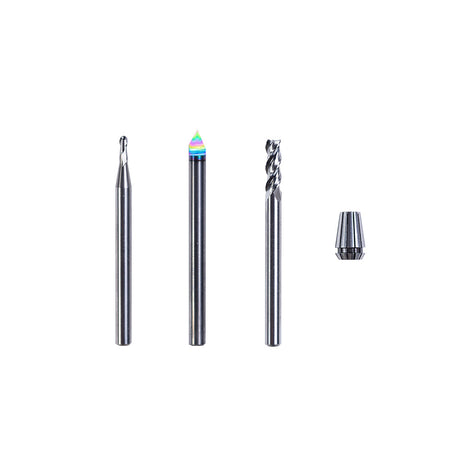
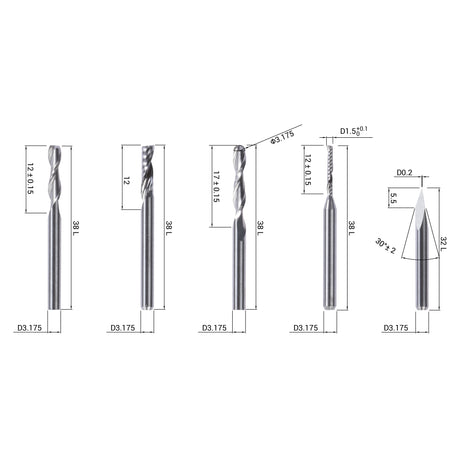
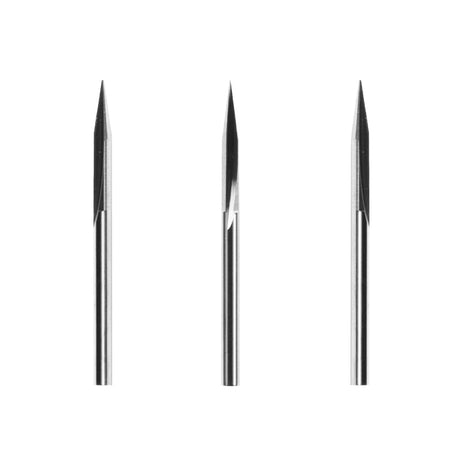
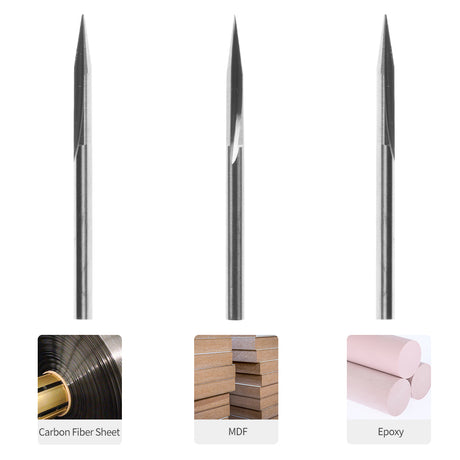
CNC-Bits - 4mm-Schaft (3 Bits, mit Spindelspannzange)
€29,99 EURGrundpreis /Nicht verfügbarAuf Lager -

-
-
-
-
-
![Heißabschlüsse für Snapmaker J1/J1s]()
![Heißabschlüsse für Snapmaker J1/J1s]()
![Heißabschlüsse für Snapmaker J1/J1s]()
![Heißabschlüsse für Snapmaker J1/J1s]()
![Heißabschlüsse für Snapmaker J1/J1s]()
![Heißabschlüsse für Snapmaker J1/J1s]()
![Heißabschlüsse für Snapmaker J1/J1s]() Bis zu €47,00 Rabatt
Bis zu €47,00 Rabatt -
-
![CNC Platform (MDF Wasteboard) for Snapmaker 2.0]() Bis zu €11,49 Rabatt
Bis zu €11,49 RabattCNC-Plattform (MDF-Abfallbrett) für Snapmaker 2.0
Von €11,50 EUR€22,99Grundpreis /Nicht verfügbarAuf Lager -
-
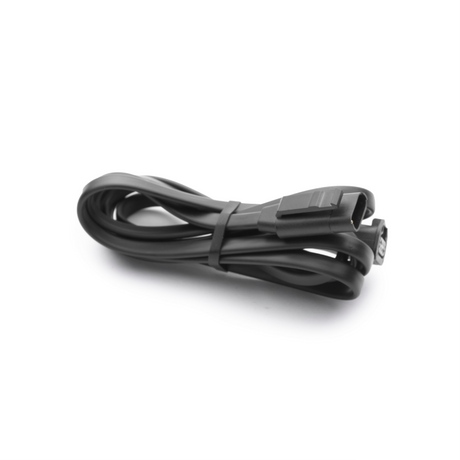
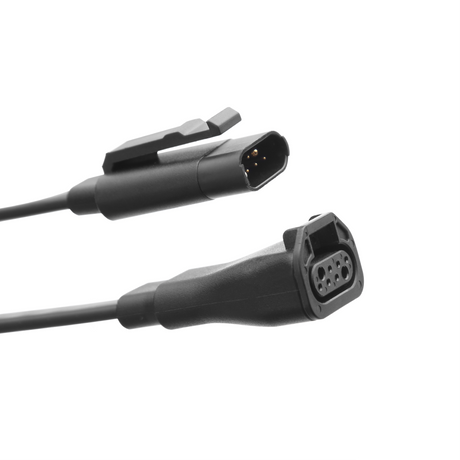
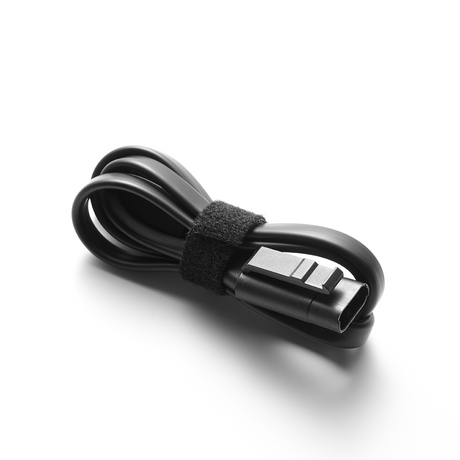
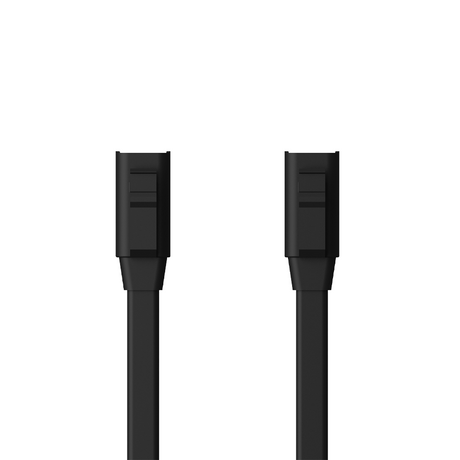
![TOOLHEAD CABLE FOR SNAPMAKER 2.0]()
![TOOLHEAD CABLE FOR SNAPMAKER 2.0]() Bis zu €3,49 Rabatt
Bis zu €3,49 Rabatt
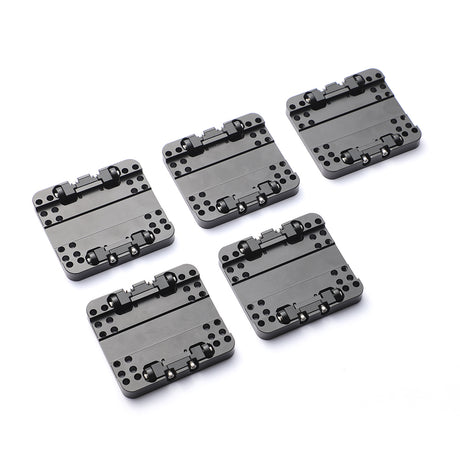
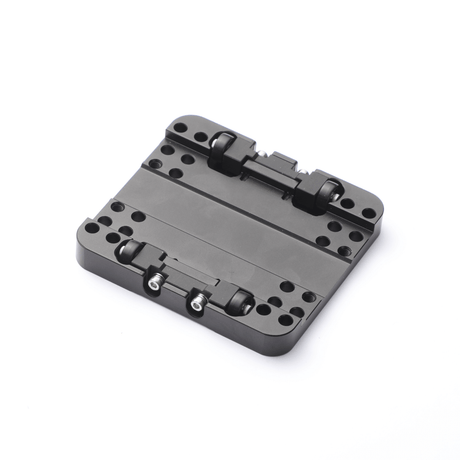
1. Wie verbessert das Snapmaker Bracing Kit die Leistung der Linear‑Module?
Das Snapmaker Bracing Kit erhöht die Steifigkeit aller Linear‑Module, was zu einer besseren Bearbeitungsqualität führt und gleichzeitig den Aufwand für Justierungen der Gleitführungen, Reparaturen und Wartungsarbeiten minimiert.
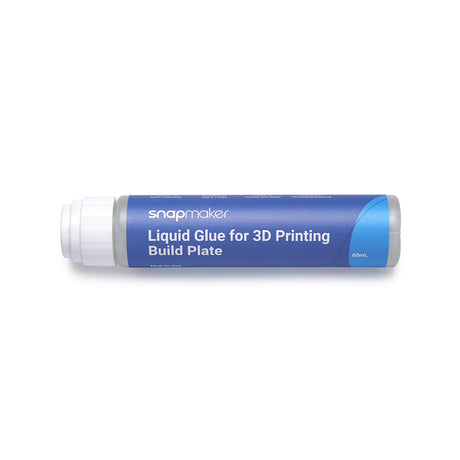
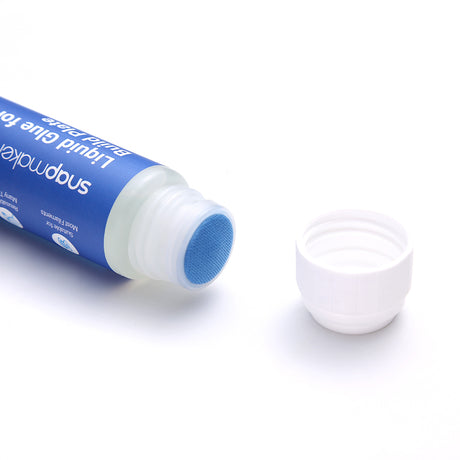
2. Kann ich Snapmaker Liquid Glue auf allen Arten von beheizten Druckbett‑Oberflächen verwenden?
Ja — das Snapmaker Liquid Glue ist vielseitig einsetzbar und kann auf verschiedenen beheizten Druckbettoberflächen verwendet werden, z. B. auf texturierten Oberflächen, Glas oder flexiblen Platten. Es verbessert die Haftung zwischen Modell und Druckbett, reduziert Druckfehler und Verformungen. Zudem ist es kompatibel mit einer Vielzahl von Filamenttypen wie PLA, PETG, PET, ABS, HIPS, ASA und TPU.
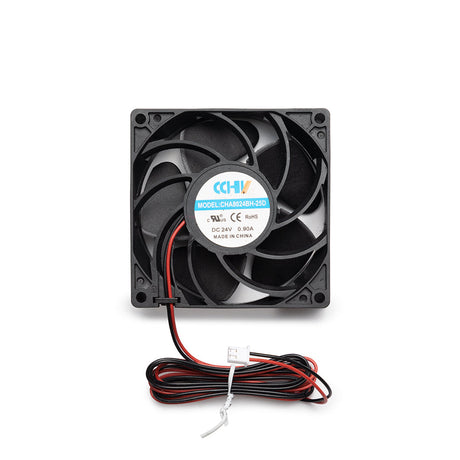
3. Wie hoch ist der maximale Luftdurchsatz des Snapmaker Boosted Exhaust Fan?
Der Boosted Exhaust Fan von Snapmaker erreicht einen maximalen Luftdurchsatz von 95 CFM. (Hinweis: Der im Gehäuse‑Lieferumfang für den Snapmaker Artisan enthaltene Abluftventilator hat einen Luftstrom von 36 CFM — ausreichend für die Nutzung des 10 W‑Lasermoduls; bei Bedarf kann man aufrüsten.)
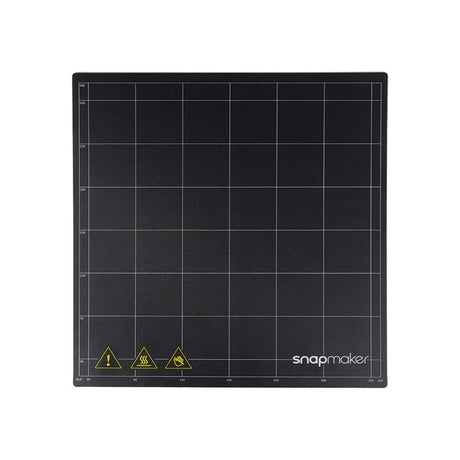
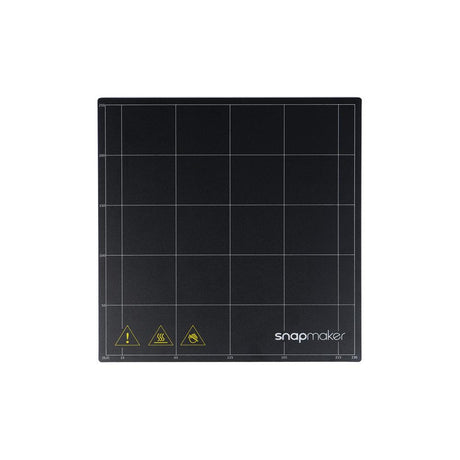
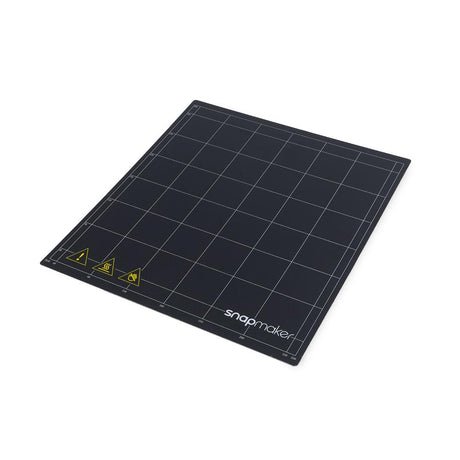
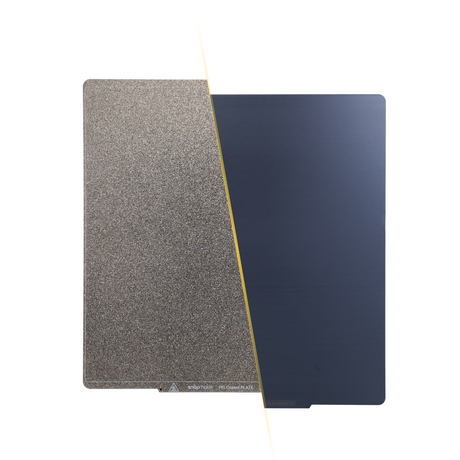
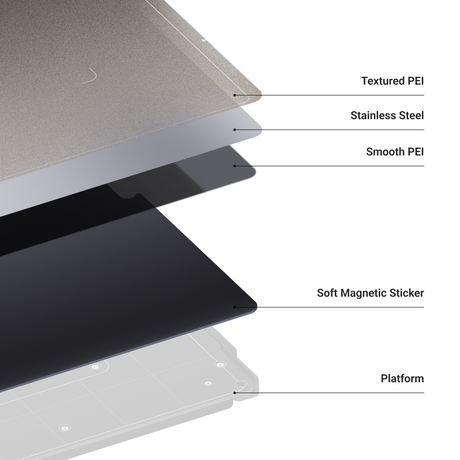
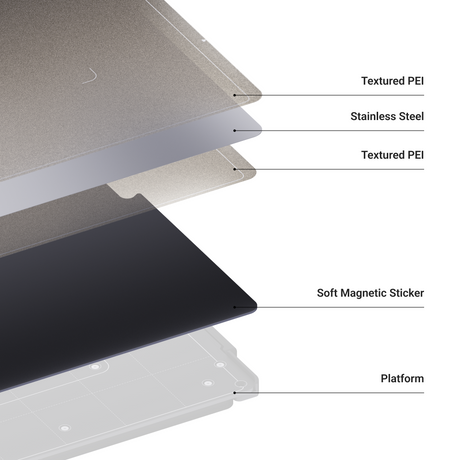
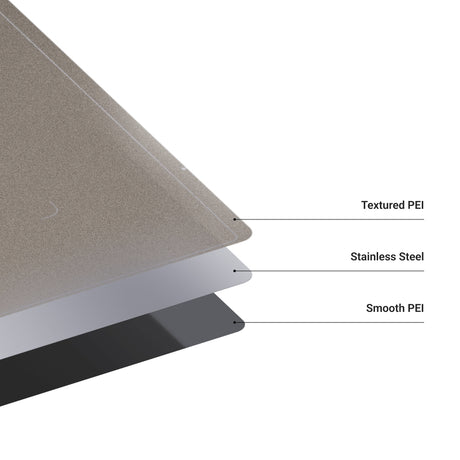
4. Womit ist die Snapmaker Dual‑seitige PEI‑Stahlplatte mit Soft Magnetic Sticker Kit kompatibel?
Die dual‑seitige PEI‑Stahlplatte mit dem Soft Magnetic Sticker Kit ist aktuell nur mit dem Snapmaker Artisan 3‑in‑1 3D-Drucker kompatibel.
5. Für welche Wellenlängen schützt die Snapmaker Schutzbrille?
Die Snapmaker-Schutzbrille bietet Schutz für Laser mit Wellenlängen im Bereich von 190–540 nm (mit Schutzgrad OD6+) sowie 800–1700 nm (mit Schutzgrad OD4+). Damit deckt sie ultraviolettes, violettes, blaues, grünes und infrarotes Licht ab.
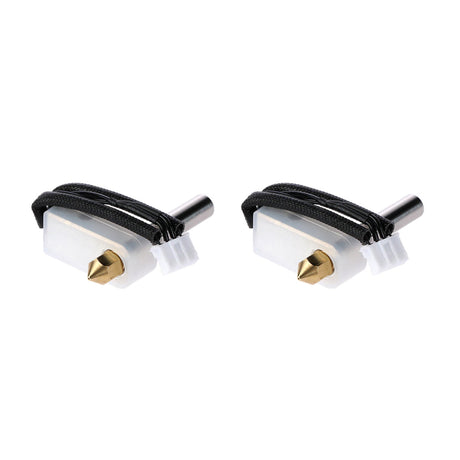
6. Wann sollte ich das FFC‑Kabel des Druckkopfs beim J1 / J1s IDEX‑3D‑Drucker austauschen?
Sie sollten das FFC‑Kabel ersetzen, wenn einer der folgenden Fälle zutrifft:
1. Das Kabel weist sichtbare Beschädigungen auf, z. B. starke Knickstellen oder Risse.
2. Sie haben Probleme bei der Extrudertemperatursteuerung, die eindeutig auf das FFC‑Kabel zurückzuführen sind.
FAQs
1. Wie verbessert das Snapmaker Bracing Kit die Leistung der Linear‑Module?
Das Snapmaker Bracing Kit erhöht die Steifigkeit aller Linear‑Module, was zu einer besseren Bearbeitungsqualität führt und gleichzeitig den Aufwand für Justierungen der Gleitführungen, Reparaturen und Wartungsarbeiten minimiert.
2. Kann ich Snapmaker Liquid Glue auf allen Arten von beheizten Druckbett‑Oberflächen verwenden?
Ja — das Snapmaker Liquid Glue ist vielseitig einsetzbar und kann auf verschiedenen beheizten Druckbettoberflächen verwendet werden, z. B. auf texturierten Oberflächen, Glas oder flexiblen Platten. Es verbessert die Haftung zwischen Modell und Druckbett, reduziert Druckfehler und Verformungen. Zudem ist es kompatibel mit einer Vielzahl von Filamenttypen wie PLA, PETG, PET, ABS, HIPS, ASA und TPU.
3. Wie hoch ist der maximale Luftdurchsatz des Snapmaker Boosted Exhaust Fan?
Der Boosted Exhaust Fan von Snapmaker erreicht einen maximalen Luftdurchsatz von 95 CFM. (Hinweis: Der im Gehäuse‑Lieferumfang für den Snapmaker Artisan enthaltene Abluftventilator hat einen Luftstrom von 36 CFM — ausreichend für die Nutzung des 10 W‑Lasermoduls; bei Bedarf kann man aufrüsten.)
4. Womit ist die Snapmaker Dual‑seitige PEI‑Stahlplatte mit Soft Magnetic Sticker Kit kompatibel?
Die dual‑seitige PEI‑Stahlplatte mit dem Soft Magnetic Sticker Kit ist aktuell nur mit dem Snapmaker Artisan 3‑in‑1 3D-Drucker kompatibel.
5. Für welche Wellenlängen schützt die Snapmaker Schutzbrille?
Die Snapmaker-Schutzbrille bietet Schutz für Laser mit Wellenlängen im Bereich von 190–540 nm (mit Schutzgrad OD6+) sowie 800–1700 nm (mit Schutzgrad OD4+). Damit deckt sie ultraviolettes, violettes, blaues, grünes und infrarotes Licht ab.
6. Wann sollte ich das FFC‑Kabel des Druckkopfs beim J1 / J1s IDEX‑3D‑Drucker austauschen?
Sie sollten das FFC‑Kabel ersetzen, wenn einer der folgenden Fälle zutrifft:
1. Das Kabel weist sichtbare Beschädigungen auf, z. B. starke Knickstellen oder Risse.
2. Sie haben Probleme bei der Extrudertemperatursteuerung, die eindeutig auf das FFC‑Kabel zurückzuführen sind.