-

-
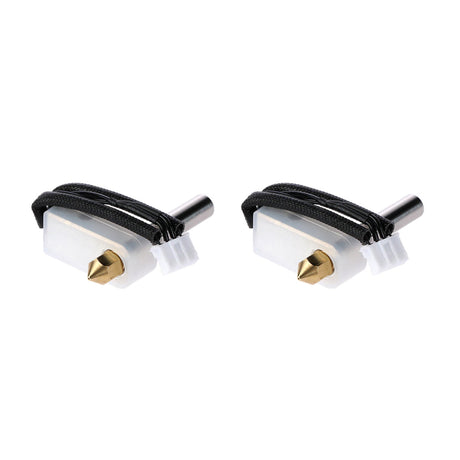
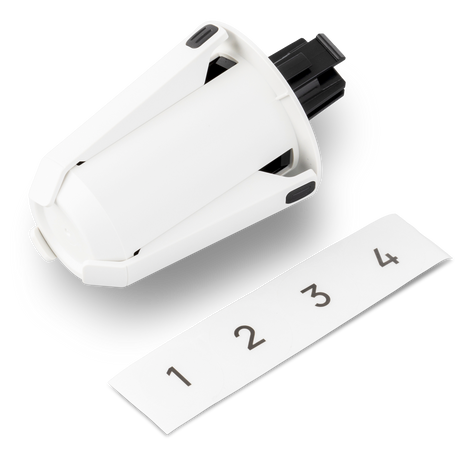
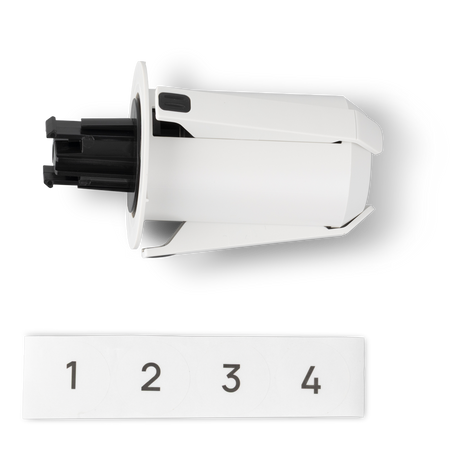
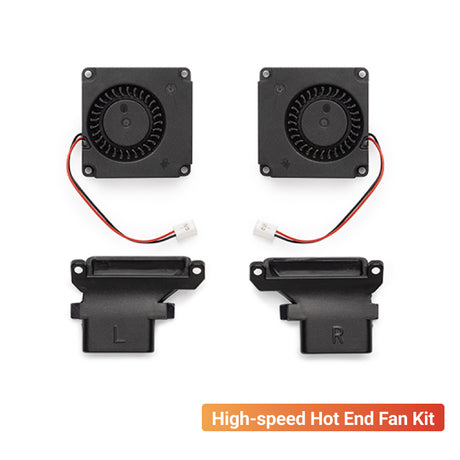
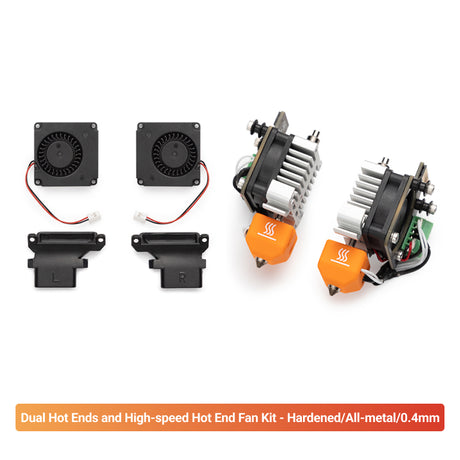
Kit « hot end » pour extrudeuse Snapmaker 2.0
À partir de11,99 € -
-
-
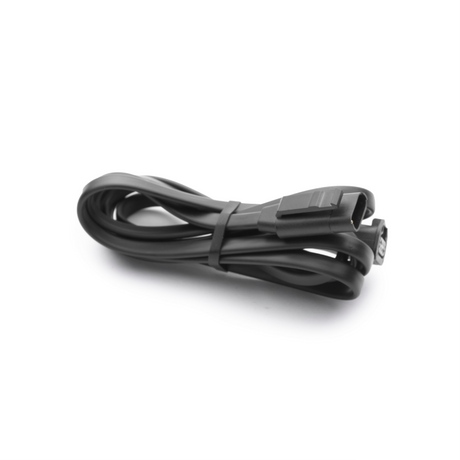
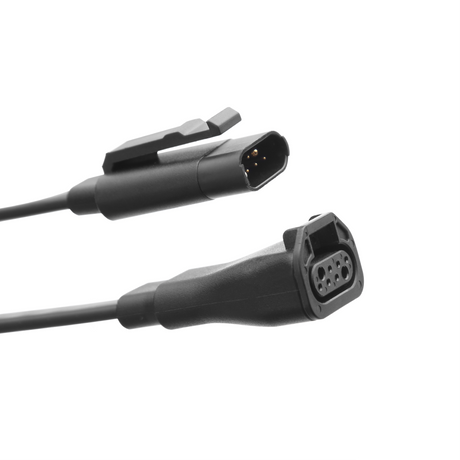
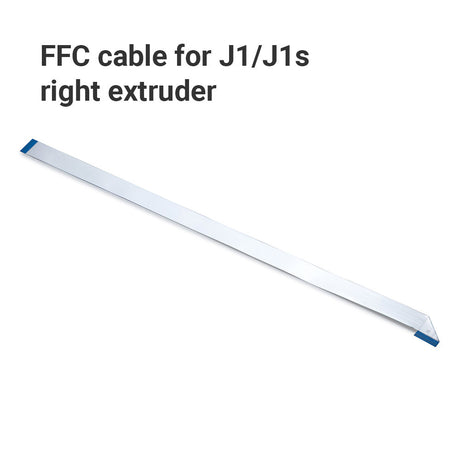
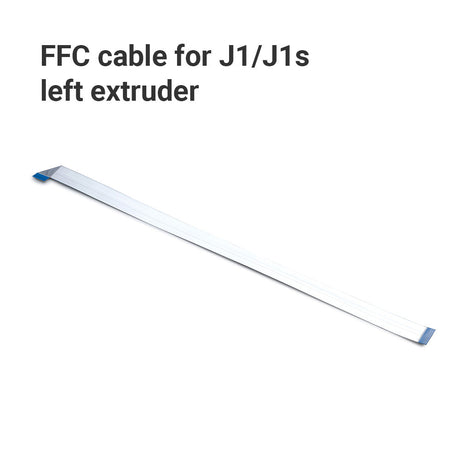
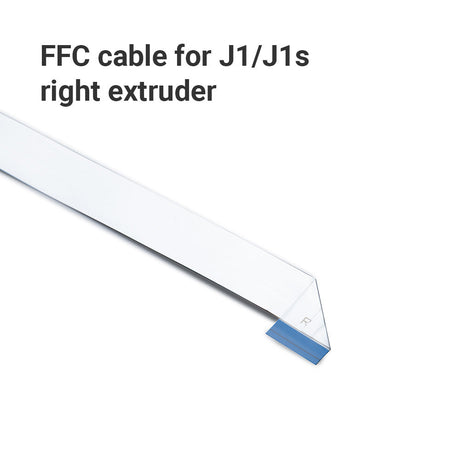
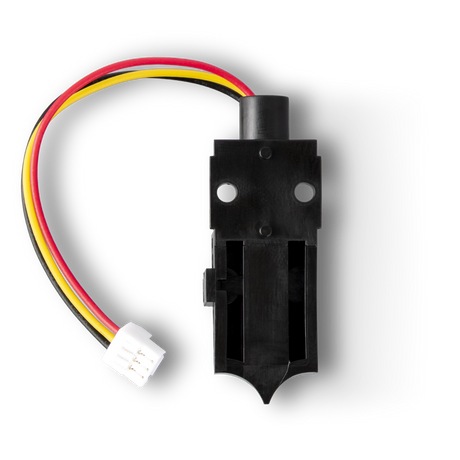
Câble FFC pour Snapmaker J1/J1s
À partir de4,00 €Rupture de stock -
-
-
-
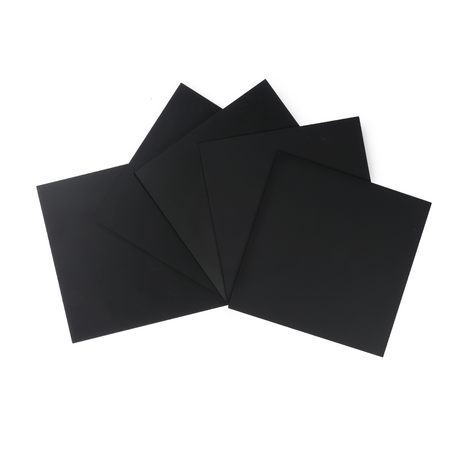
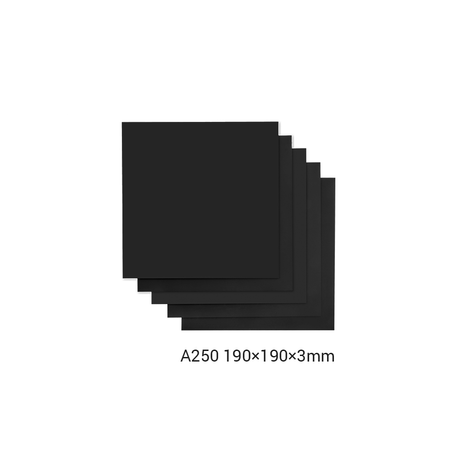
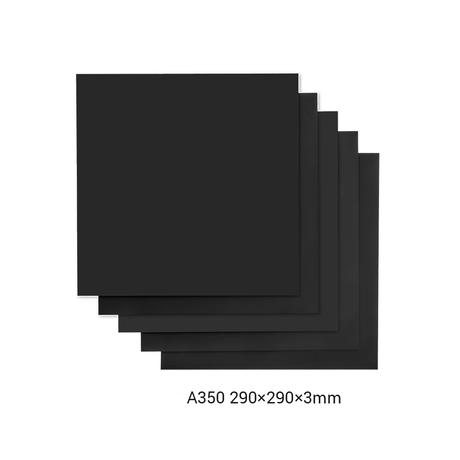
Feuilles d'acrylique dépoli (lot de 5)
De11,50 €22,99 € -

-
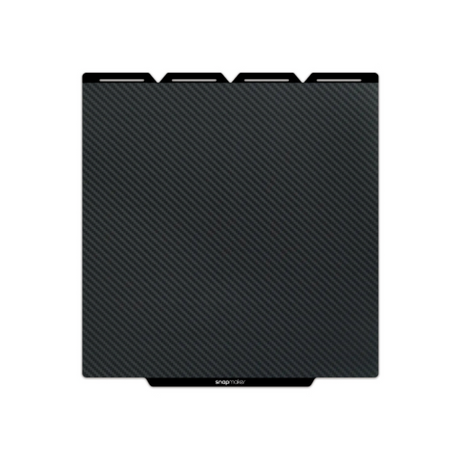
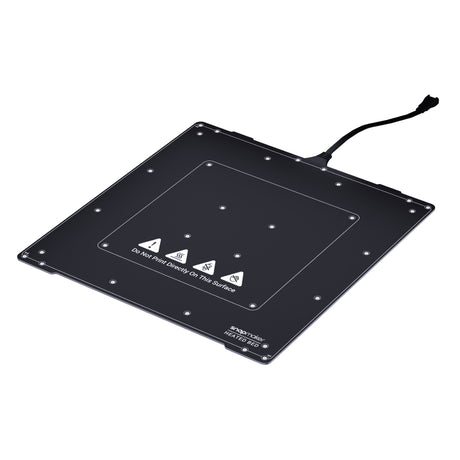
Plaque en acier à motifs pour Snapmaker U1
PrécommandeÀ partir de24,99 €33,99 € -
-
-
-

Restez informés !
Abonnez-vous pour recevoir des informations sur nos nouveaux produits et nos promotions exclusives.