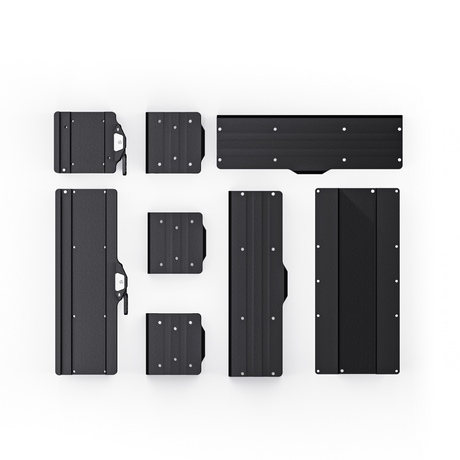
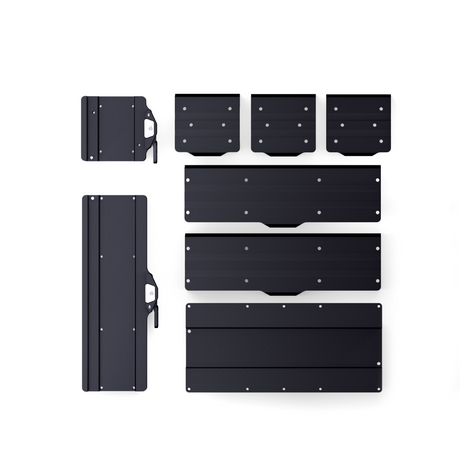
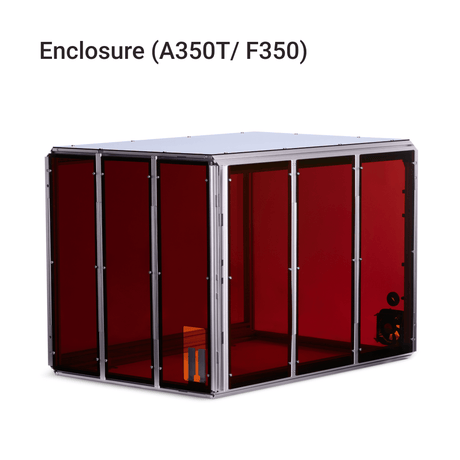
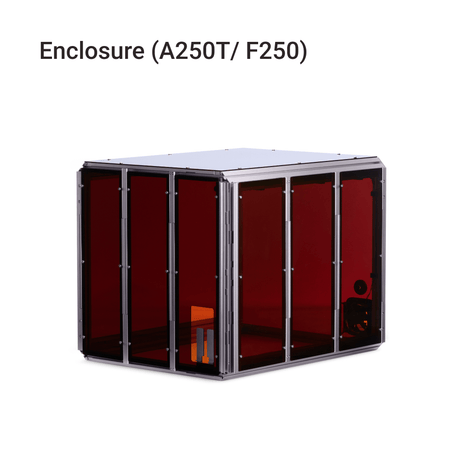
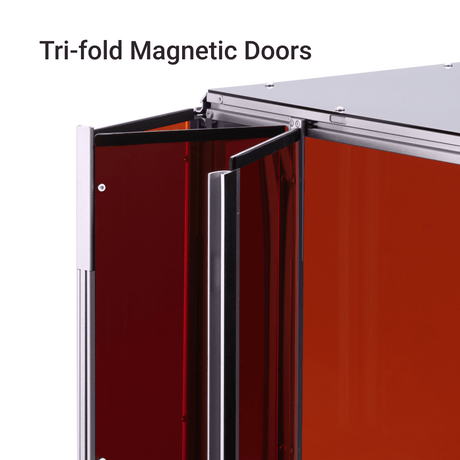
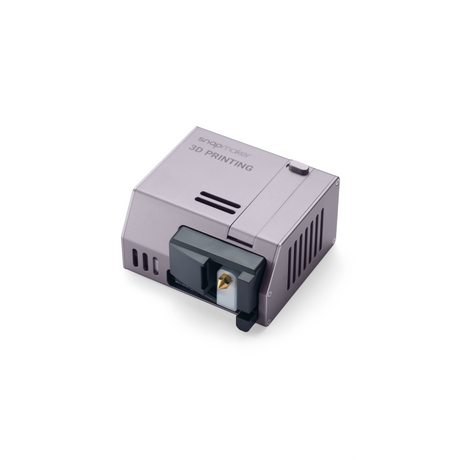
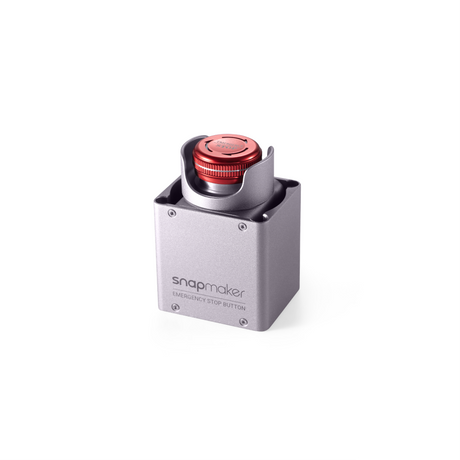
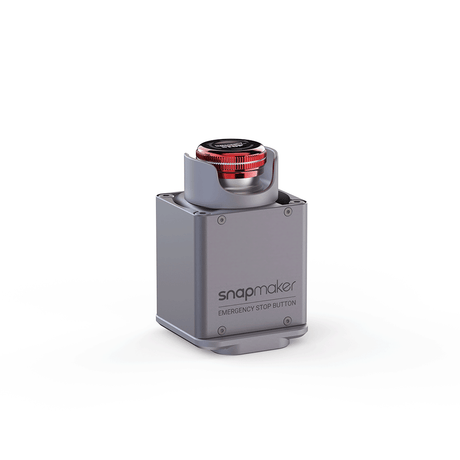
All products that are compatible with Snapmaker 2.0.
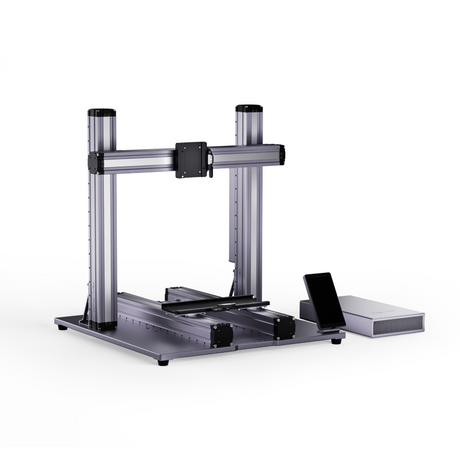
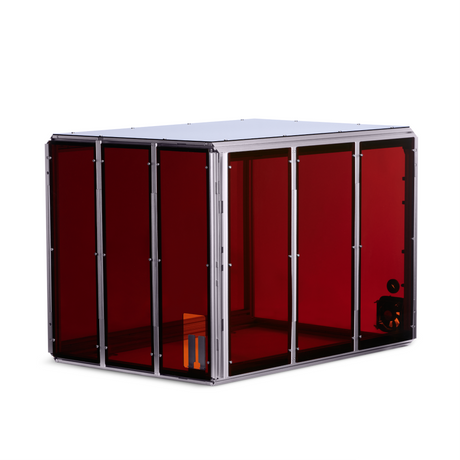
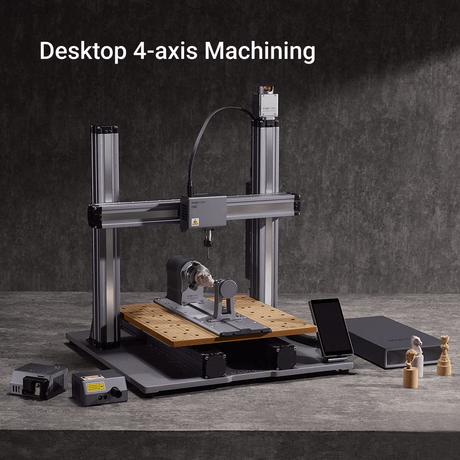
Snapmaker 2.0 Modular 3-in-1 3D Printer with Enclosure A350T (VAT Incl.)
From €1.349,00 EUR€1.749,00Unit price /UnavailableIn stockSnapmaker 2.0 Dual Extrusion 3D Printing Module
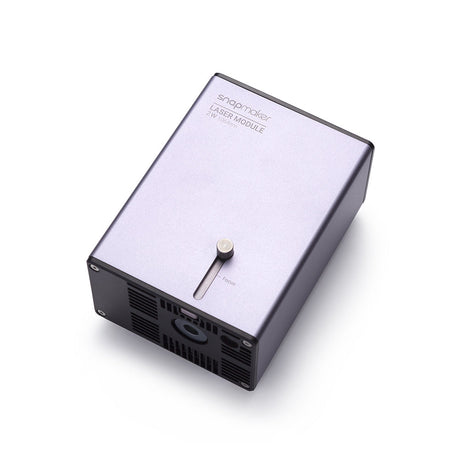
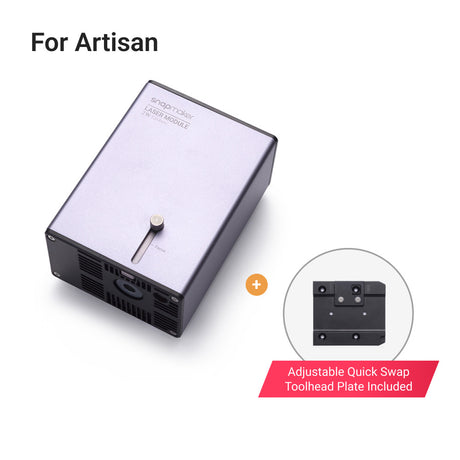
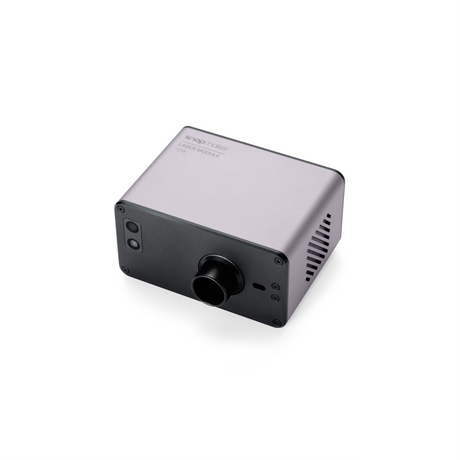
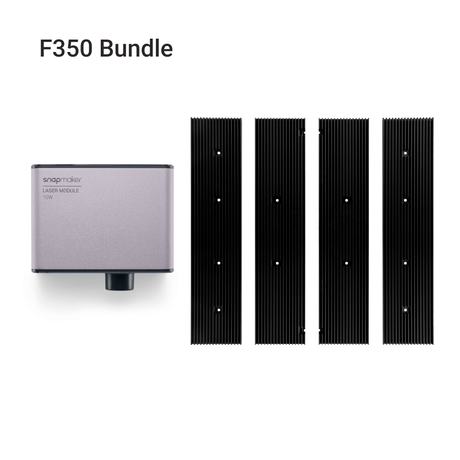
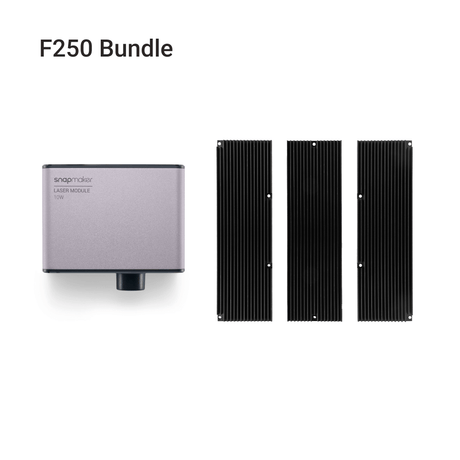
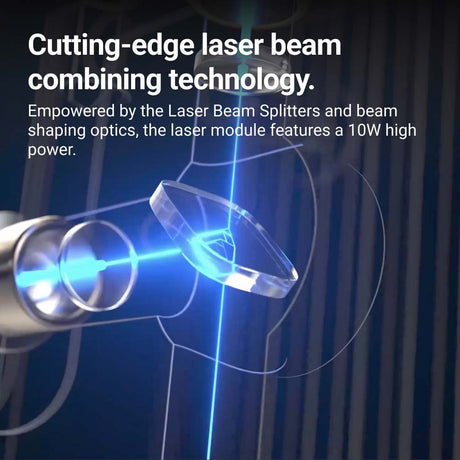
€499,00 EUR€699,00Unit price /UnavailableIn stockSnapmaker 10W High Power Laser Module (VAT Incl.)
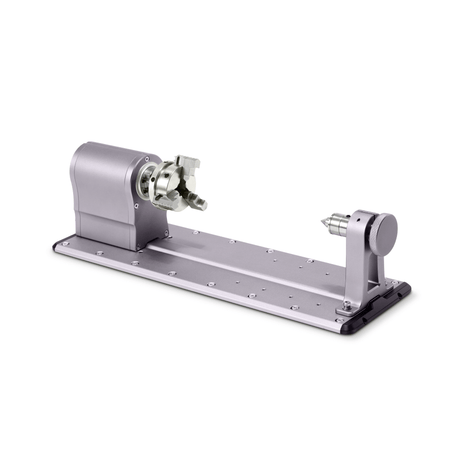
From €329,00 EUR€519,00Unit price /UnavailableIn stockSnapmaker Rotary Module (Harmonic Drive Version) (VAT Incl.)
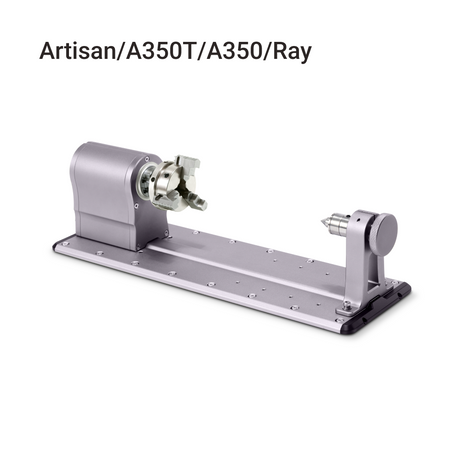
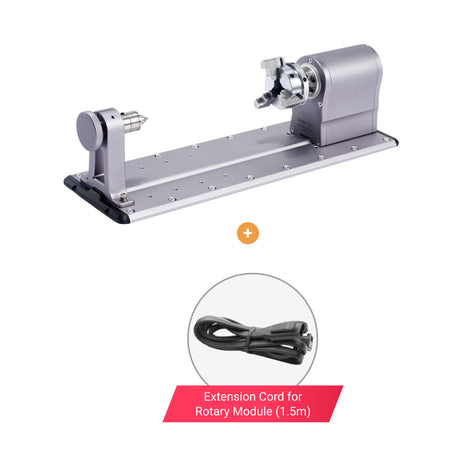
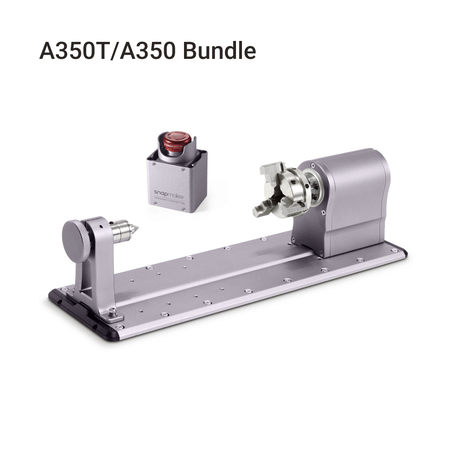
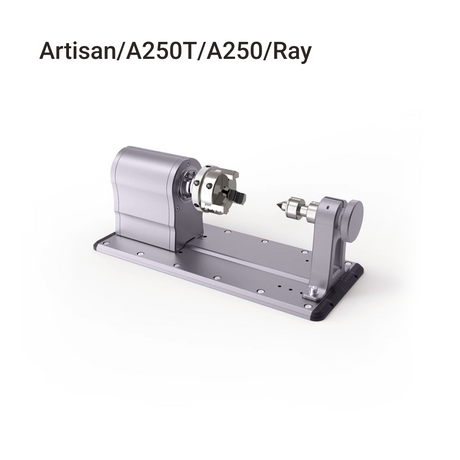
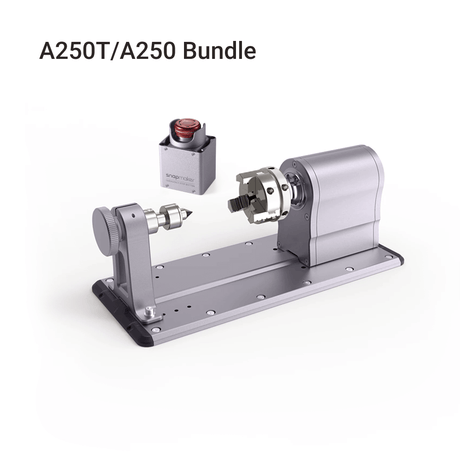
From €459,00 EUR€639,00Unit price /UnavailableIn stock
What are some benefits of having a 3D printer with more than one function?
Having a 3D printer with more than one function, such as a 3-in-1 printer that can also laser engrave and CNC mill, can provide several benefits, including:
1. Versatility: With a multi-functional 3D printer, you have the ability to create a wider range of projects and products, from 3D printed objects to engraved designs and milled parts. This versatility allows for more creativity and experimentation in your projects.
2. Space-saving: Rather than having multiple machines for each function, a multi-functional 3D printer can save space in your workspace, making it ideal for those with limited room.
3. Cost-effective: Purchasing a multi-functional 3D printer can be more cost-effective than purchasing separate machines for each function. It can also reduce the need for additional equipment and tools, further saving you money.
4. Time-saving: With a multi-functional 3D printer, you can seamlessly switch between functions, saving you time and effort in switching between machines or tools.
5. Learning opportunities: A multi-functional 3D printer can provide more learning opportunities for those interested in exploring different manufacturing and prototyping methods. This can be especially beneficial for educational settings, such as schools and universities.
In summary, a 3D printer with more than one function can provide several benefits, including versatility, space-saving, cost-effectiveness, time-saving, and learning opportunities. It can be a valuable tool for both hobbyists and professionals in creating a wider range of projects and products.
How can you improve the quality of your 3D prints, such as achieving better resolution, smoother surfaces, or stronger structural integrity?
There are several ways to improve the quality of your 3D prints, including:
1. Adjusting print settings: Tweaking the print settings can improve print quality significantly. For instance, increasing the resolution or layer height can result in smoother surfaces, while adjusting the print speed can help reduce stringing and other print defects. Experimenting with different settings can help achieve the desired print quality.
2. Using high-quality filament: The quality of the filament can impact print quality. Choosing high-quality, well-formulated filament can result in stronger prints and better surface finish.
3. Calibrating the printer: Proper calibration of the printer is essential for achieving high-quality prints. This includes leveling the print bed, calibrating the extruder, and ensuring the printer is properly maintained.
4. Post-processing techniques: Post-processing techniques such as sanding, painting, or adding a finishing coat can help achieve a smoother surface finish.
5. Using support structures: Support structures can be used to provide structural support during the printing process, resulting in stronger prints with better structural integrity.
6. Upgrading the printer: Upgrading the printer with better components, such as a higher-quality hotend or a more precise extruder, can improve the print quality significantly.
7. Using different printing technologies: Different printing technologies such as SLA or SLS can be used to achieve better resolution and smoother surfaces than FDM printing.
What are some best practices for maintaining and cleaning a 3D printer, and how often should routine maintenance be performed?
Maintaining and cleaning a 3D printer is important to ensure optimal performance and longevity of the machine. Here are some best practices for maintaining and cleaning a 3D printer:
1. Regularly clean the printer: Dust and debris can accumulate on the printer, affecting its performance. It's important to clean the printer regularly using a soft brush or compressed air to remove any dirt or dust.
2. Keep the printer in a clean, dry environment: Keeping the printer in a clean, dry environment can help prevent dust and debris from accumulating on the printer. This can also help prevent moisture buildup, which can affect print quality.
3. Keep the print bed clean: The print bed is a critical component of the printer and should be kept clean to ensure optimal adhesion of the print. Clean the print bed regularly with isopropyl alcohol to remove any residue or buildup.
4. Lubricate moving parts: Lubricating moving parts such as the X and Y axis rods can help keep the printer running smoothly. Use a small amount of lubricant on a cloth or brush and apply it to the moving parts.
5. Check and tighten screws: Over time, screws can loosen on the printer, affecting print quality. Check the screws regularly and tighten them as necessary.
6. Replace worn parts: Over time, parts such as the nozzle or hotend can wear out and affect print quality. Replace worn parts as needed to ensure optimal performance.
Routine maintenance should be performed on a regular basis, depending on the frequency of use and the manufacturer's recommendations. This may include cleaning the printer, lubricating moving parts, and checking for any loose or worn parts. It's important to refer to the printer's user manual for specific maintenance instructions and recommendations.
How can 3D printing be used in education, and what are some examples of educational projects or programs using 3D printers?
3D printing has become a popular tool in education due to its ability to provide hands-on learning opportunities and foster creativity and innovation. Here are some examples of educational projects or programs using 3D printers:
1. STEM Education: 3D printing can be used to teach Science, Technology, Engineering, and Math (STEM) subjects by allowing students to design and build prototypes of their own designs. Students can learn concepts such as geometry, physics, and material science while using 3D printers.
2. Art and Design: 3D printing can be used to teach art and design by allowing students to create their own sculptures, jewelry, and other designs. Students can learn about design principles, aesthetics, and materials while using 3D printers.
3. History and Archaeology: 3D printing can be used to create replicas of historical artifacts and archaeological finds, allowing students to learn about history and culture through hands-on exploration.
4. Medical Education: 3D printing can be used in medical education to create anatomical models and surgical guides, allowing students to learn about the human body and surgical procedures in a hands-on way.
5. Environmental Science: 3D printing can be used to create models of ecosystems and landscapes, allowing students to learn about environmental science in a hands-on way.
6. Robotics and Engineering: 3D printing can be used to create parts for robotics and engineering projects, allowing students to learn about robotics and engineering while building and programming their own robots.
7. Special Education: 3D printing can be used to create custom tools and devices for students with special needs, allowing them to access the curriculum and participate in activities in a more independent way
How does the speed of 3D printing compare to traditional manufacturing methods, such as injection molding or CNC machining?
The speed of 3D printing is generally slower than traditional manufacturing methods, such as injection molding or CNC machining.
In injection molding, a mold is created and injected with molten material at high pressure, producing multiple identical parts quickly and efficiently. The process can be completed in a matter of seconds to minutes, depending on the complexity of the part.
In CNC machining, a computer-controlled machine removes material from a block of material to create the desired shape. The process can be completed in a matter of minutes to hours, depending on the complexity of the part.
3D printing, on the other hand, builds up a part layer by layer, which can take several hours to complete. The printing speed depends on factors such as the complexity of the part, the quality of the printer, and the type of material being used.
However, 3D printing offers unique advantages over traditional manufacturing methods. It allows for greater design flexibility, the ability to create complex geometries that would be difficult or impossible to produce with traditional methods, and the ability to produce customized or one-off parts without the need for expensive tooling. Additionally, 3D printing can be more cost-effective for small production runs or prototypes.
Therefore, while 3D printing may be slower than traditional manufacturing methods, it offers unique advantages that make it a valuable tool in certain applications.


