FAQs
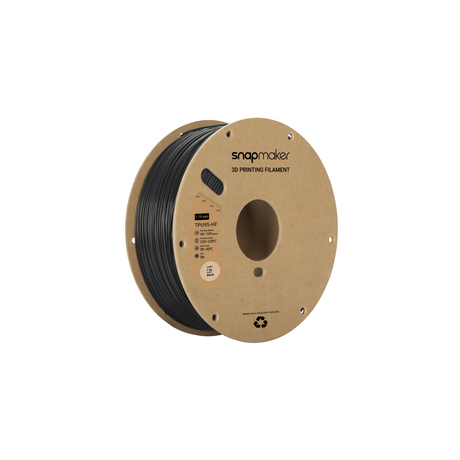
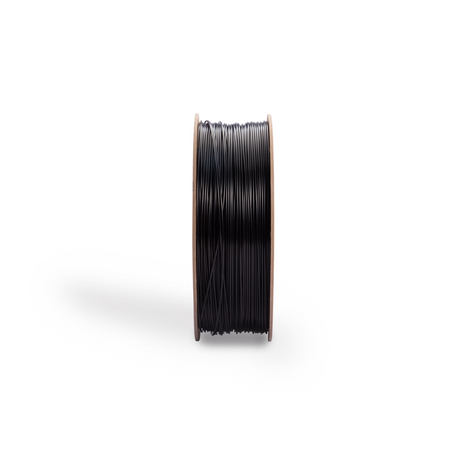
1. What is the diameter of Snapmaker 3D printer filaments?
Snapmaker filaments have a diameter of 1.75mm, compatible with most 3D printers.
2. How do I choose the right 3D printing filaments for my project?
To select the right 3D printing filament, first familiarize yourself with various types of filaments, their properties, and applications. Then assess each filament's printability, cost, and availability to make an informed decision based on your project's specific needs.
Note: Snapmaker 3D printers support only 1.75mm filaments.
3. What type of 3D printer filaments does Snapmaker support?
• Snapmaker 2.0: PLA, ABS, PETG, TPU (Hardness ≥ 95 Shore A), wood filled PLA, and more being tested.
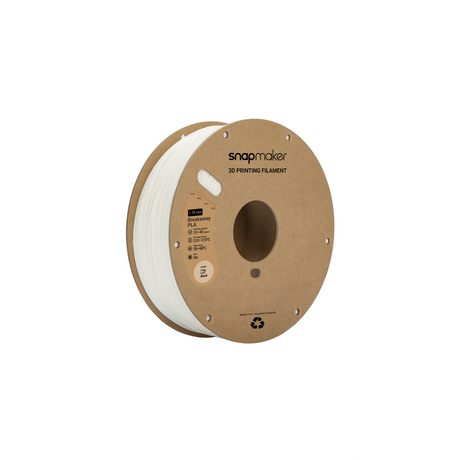
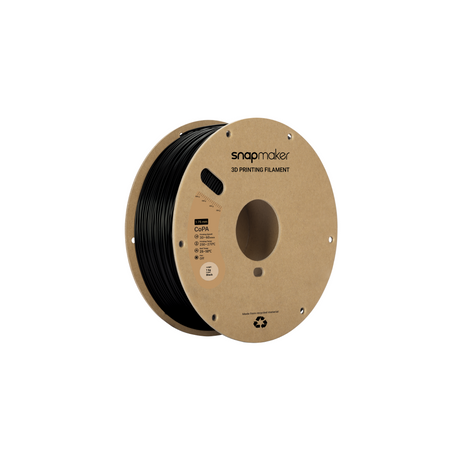
• Snapmaker Artisan: PLA, ABS, ASA, PETG, TPU (with hardness ≥ 90 Shore A), Breakaway Support for PLA, PVA, HIPS, and Nylon; Carbon Fiber Reinforced Nylon and Glass Fiber Reinforced Nylon (The Hardened 0.4mm Hot Ends are required).
• Snapmaker J1/J1s: PLA, ABS, HIPS, PC, TPU (Hardness ≥ 90 Shore A), TPE, PETG, ASA, PP, PVA, PA, PA-GF, PA-CF.
• Snapmaker U1: PLA, PETG, TPU, and PVA by default; With optional seal cover and hardened steel nozzle, it will also support PET, ABS, ASA, PC, PA, PA-CF, and PA-GF (more options in testing). Learn more.
4. What is the most commonly used 3D PRINTER filament?
Polylactic Acid (PLA) is the most commonly used filament because it’s easy to print, biodegradable, and melts at low temperatures.
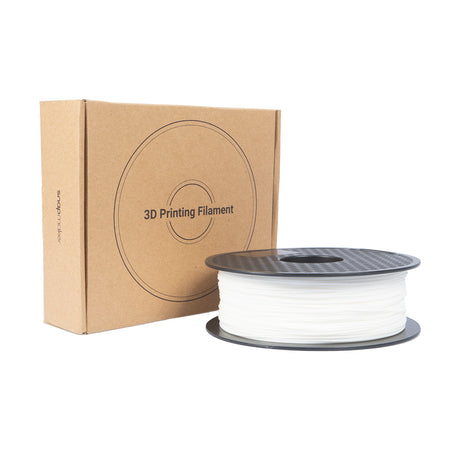
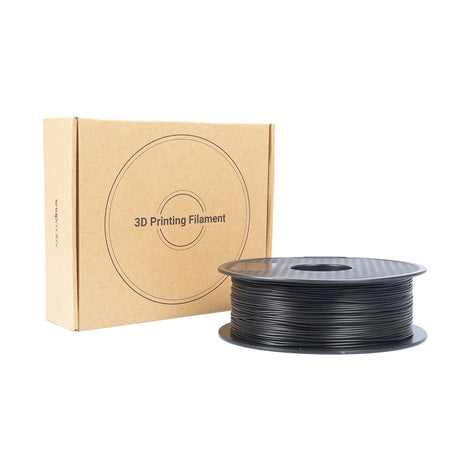
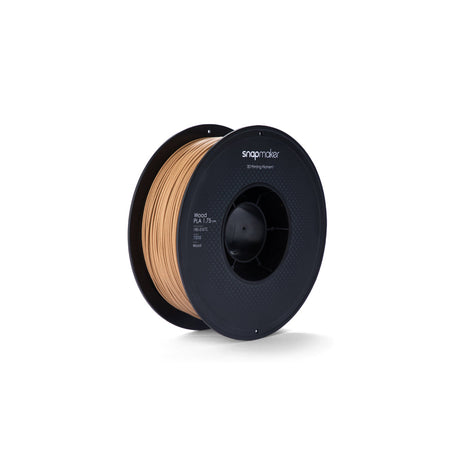
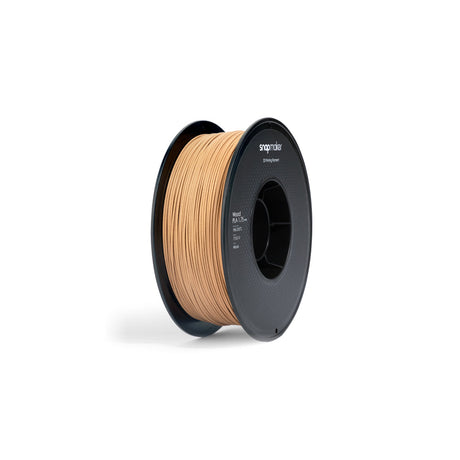
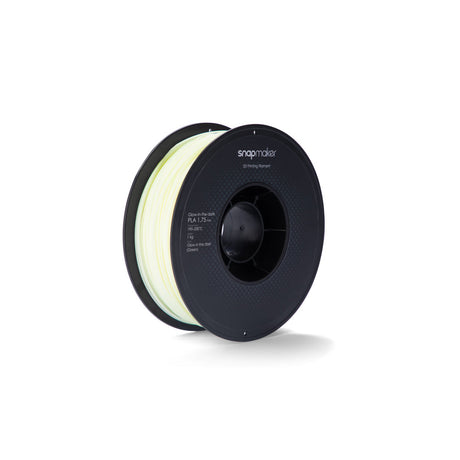
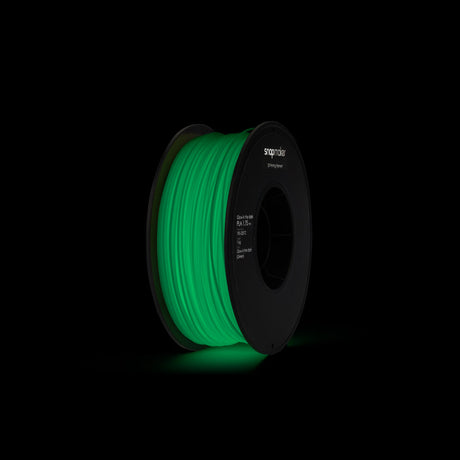
We currently offer black PLA, white PLA, wood PLA, and glow-in-the-dark green PLA filaments.
5. What is the lifespan of 3D printer filaments?
The lifespan of 3D printer filaments typically ranges from 1 to 2 years. This duration can vary based on the filament type, storage conditions, and exposure to environmental factors. Proper storage with professsional equipment like SnapDryer can significantly prolong its usability.
6. Are there eco-friendly 3D printer filaments options?
Yes, our PLA (including wood PLA and glow-in-the-dark green PLA) are made from biodegradable, renewable resources such as corn starch or sugar cane. They are also compliant with RoHS (Restriction of Hazardous Substances).
7. What is PETG filament used for?
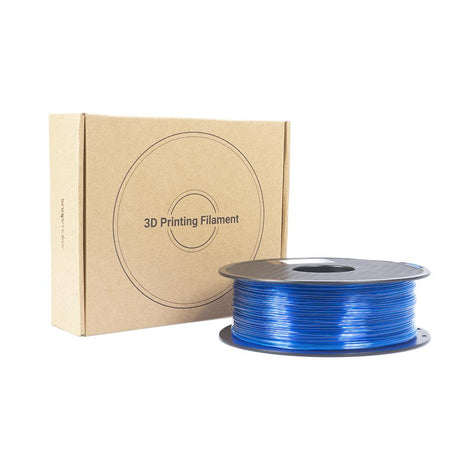
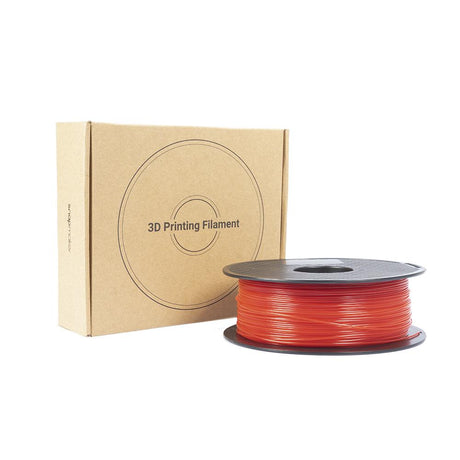
PETG filament combines the functionality of ABS and reliability of PLA. It’s suitable for mechanical parts, protective cases, and outdoor or chemically exposed items due to its robustness. Snapmaker currently has high quality red/blue PETG filament for your choice, compatible with most 3D printers.
8. How to dry 3d printer filament?
To dry wet 3D printer filament, you can use an oven, food dehydrator, fruit dryer, heated bed, or pet hair dryer. For detailed steps, refer to the 3D Printer Filament Drying Instructions provided.
Alternatively, you can use the SnapDryer, a professional drying solution that ensures safe and efficient drying and storage of 3D printing filaments.
FAQs
1. What is the diameter of Snapmaker 3D printer filaments?
Snapmaker filaments have a diameter of 1.75mm, compatible with most 3D printers.
2. How do I choose the right 3D printing filaments for my project?
To select the right 3D printing filament, first familiarize yourself with various types of filaments, their properties, and applications. Then assess each filament's printability, cost, and availability to make an informed decision based on your project's specific needs.
Note: Snapmaker 3D printers support only 1.75mm filaments.
3. What type of 3D printer filaments does Snapmaker support?
• Snapmaker 2.0: PLA, ABS, PETG, TPU (Hardness ≥ 95 Shore A), wood filled PLA, and more being tested.
• Snapmaker Artisan: PLA, ABS, ASA, PETG, TPU (with hardness ≥ 90 Shore A), Breakaway Support for PLA, PVA, HIPS, and Nylon; Carbon Fiber Reinforced Nylon and Glass Fiber Reinforced Nylon (The Hardened 0.4mm Hot Ends are required).
• Snapmaker J1/J1s: PLA, ABS, HIPS, PC, TPU (Hardness ≥ 90 Shore A), TPE, PETG, ASA, PP, PVA, PA, PA-GF, PA-CF.
4. What is the most commonly used 3D PRINTER filament?
Polylactic Acid (PLA) is the most commonly used filament because it’s easy to print, biodegradable, and melts at low temperatures.
We currently offer black PLA, white PLA, wood PLA, and glow-in-the-dark green PLA filaments.
5. What is the lifespan of 3D printer filaments?
The lifespan of 3D printer filaments typically ranges from 1 to 2 years. This duration can vary based on the filament type, storage conditions, and exposure to environmental factors. Proper storage with professsional equipment like SnapDryer can significantly prolong its usability.
6. Are there eco-friendly 3D printer filaments options?
Yes, our PLA (including wood PLA and glow-in-the-dark green PLA) are made from biodegradable, renewable resources such as corn starch or sugar cane. They are also compliant with RoHS (Restriction of Hazardous Substances).
7. What is PETG filament used for?
PETG filament combines the functionality of ABS and reliability of PLA. It’s suitable for mechanical parts, protective cases, and outdoor or chemically exposed items due to its robustness. Snapmaker currently has high quality red/blue PETG filament for your choice, compatible with most 3D printers.
8. How to dry 3d printer filament?
To dry wet 3D printer filament, you can use an oven, food dehydrator, fruit dryer, heated bed, or pet hair dryer. For detailed steps, refer to the 3D Printer Filament Drying Instructions provided.
Alternatively, you can use the SnapDryer, a professional drying solution that ensures safe and efficient drying and storage of 3D printing filaments.


