-

-
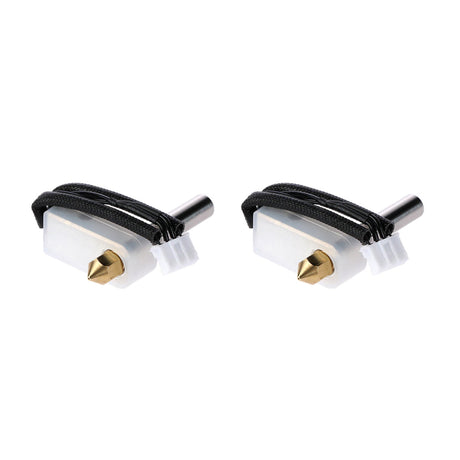
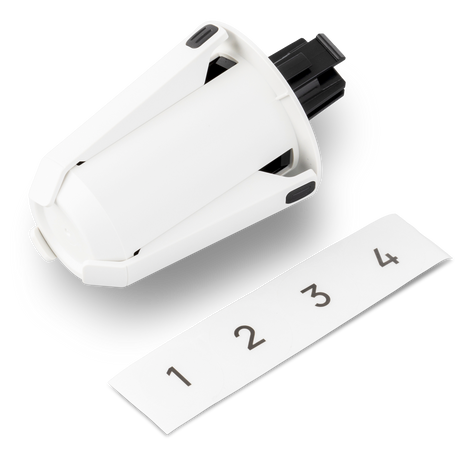
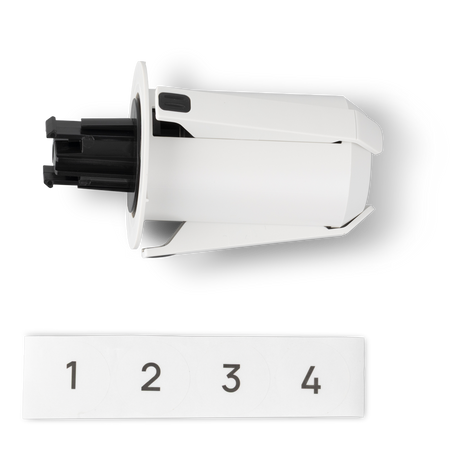
Extruder Hot End Kit for Snapmaker 2.0
From€11,99 -
-
-
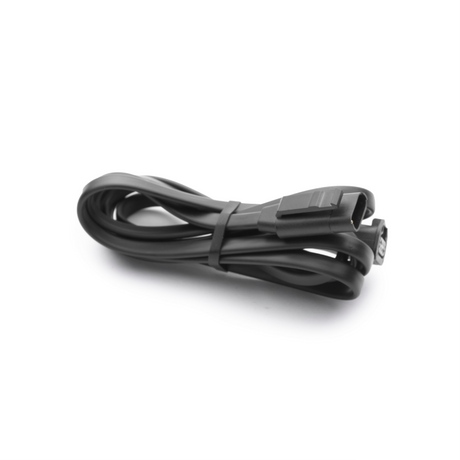
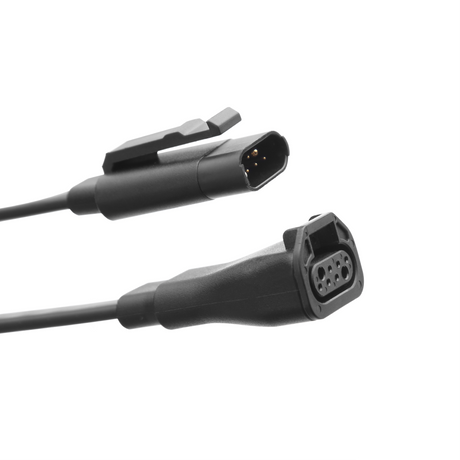
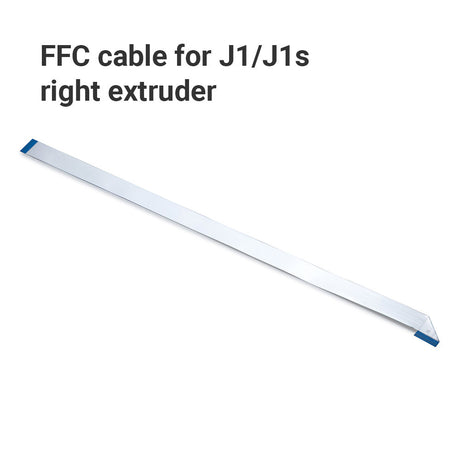
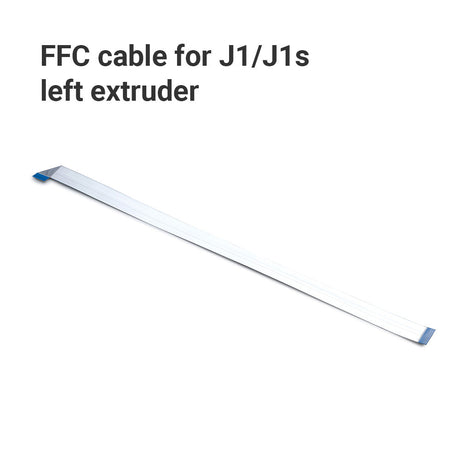
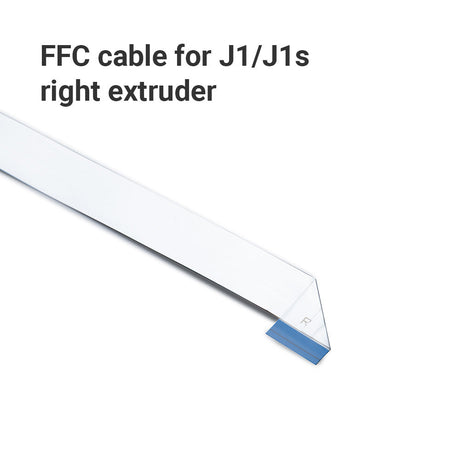
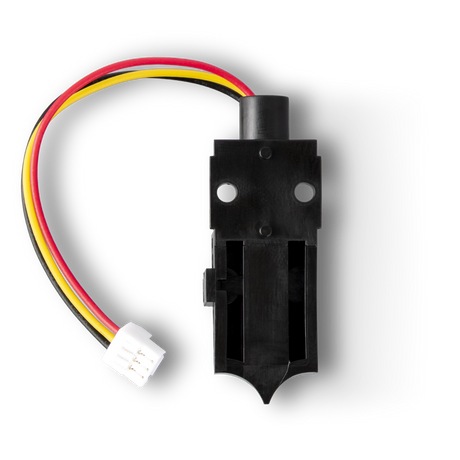
FFC cable for Snapmaker J1/J1s
From€4,00Only 2 left in stock -
-
-
-
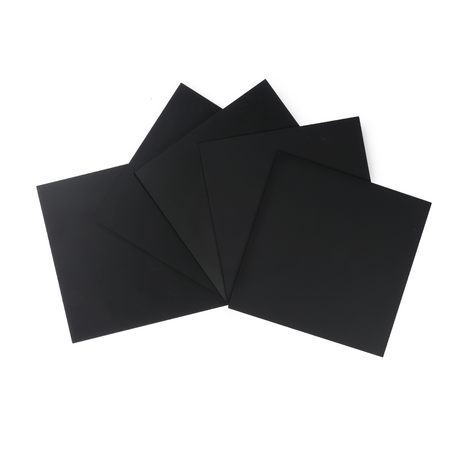
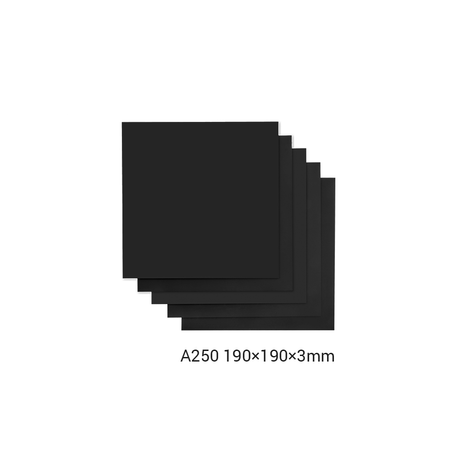
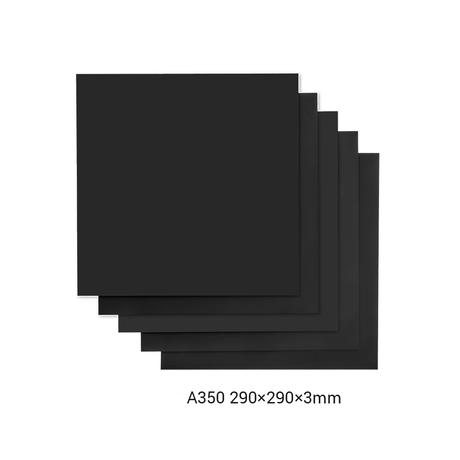
Frosted Acrylic Sheet (5-Pack)
From€11,50€22,99 -

-
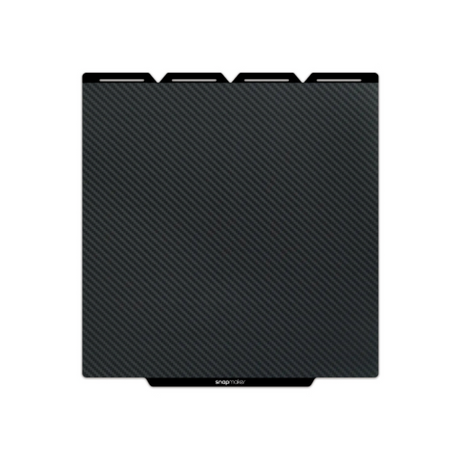
Graphic Effect Steel Plate for Snapmaker U1
Pre-OrderFrom€24,99€33,99 -
-
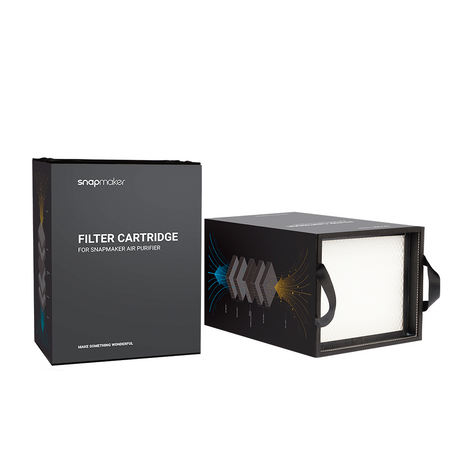
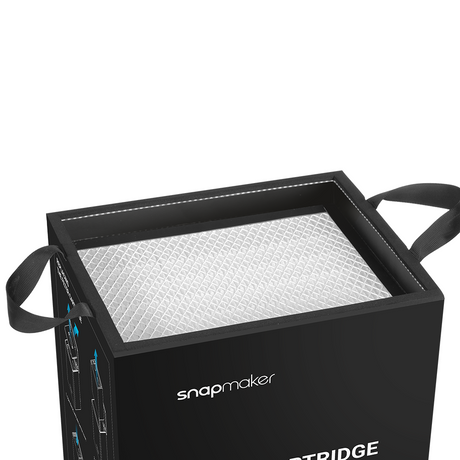
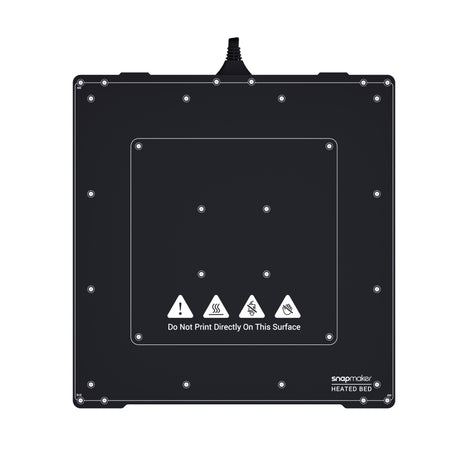
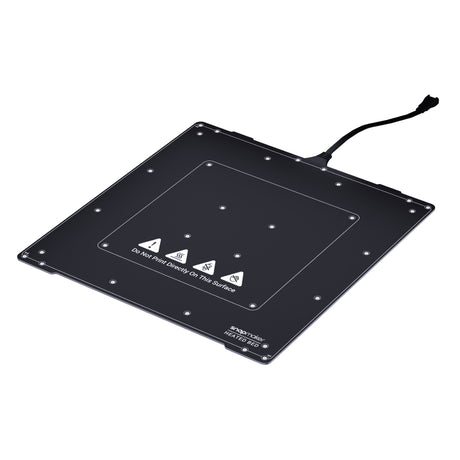
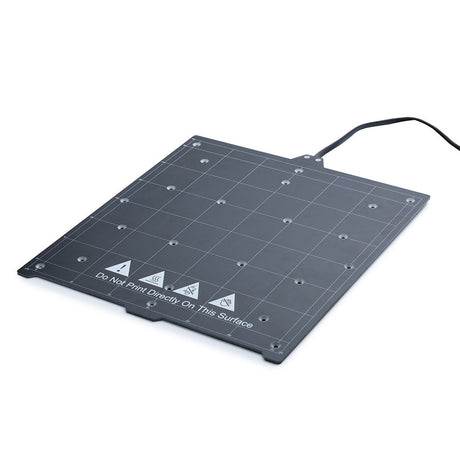
€93,99
-
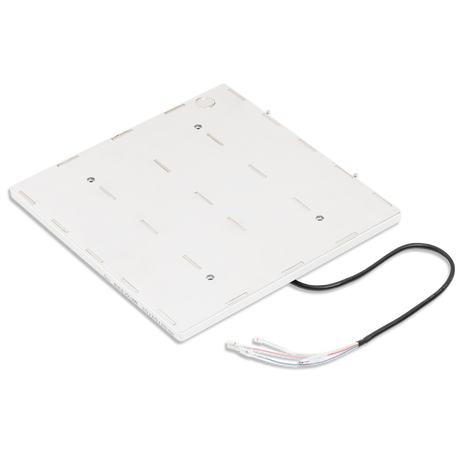
€59,00
-

Stay Updated!
Subscribe to get updates on our new products and exclusive promotions.