Making a Christmas ornament with a 3D printer is a fun and creative way to add a unique touch to your holiday decorations. Here are the steps to create a 3D printed Christmas ornament:
1. Choose a design: Select or create a 3D design for your Christmas ornament using modeling software or an online repository of free or paid designs.
2. Choose the right filament: Select a filament that suits the intended purpose of your ornament. PLA filament is a popular choice for ornaments because it is easy to work with, affordable, and available in a variety of colors.
3. Adjust your printer settings: Adjust your printer settings, including temperature, speed, and layer height, to match the type of filament and design you have selected.
4. Start printing: Load your filament into the printer and begin printing your ornament. This can take anywhere from a few minutes to several hours, depending on the complexity and size of your design.
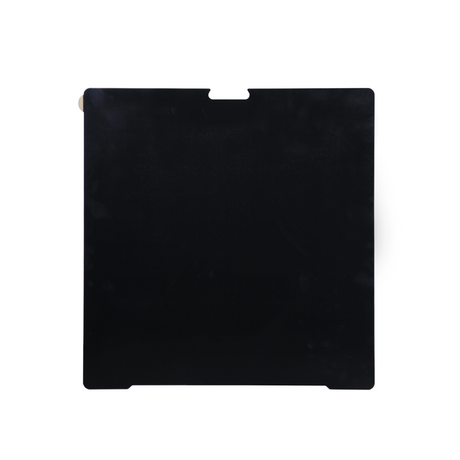
5. Post-processing: Once your ornament has finished printing, remove it from the print bed and remove any support structures or excess filament. You can sand, paint, or decorate your ornament as desired.
6. Add a hook or hanger: Attach a hook or hanger to your ornament, so it can be hung on a Christmas tree or displayed on a stand.
7. Enjoy your creation: Display your 3D printed Christmas ornament on your tree, wreath, or as a unique gift for family and friends.






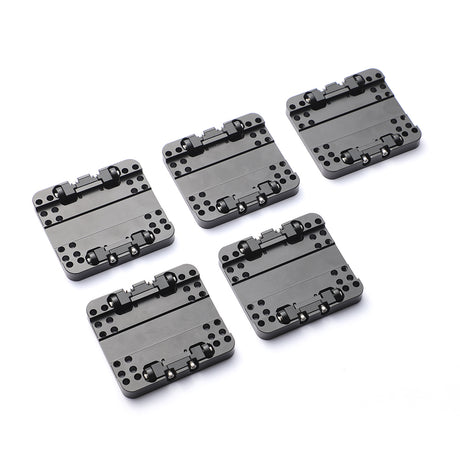
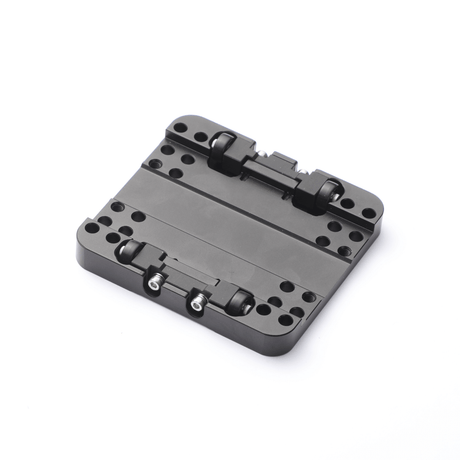
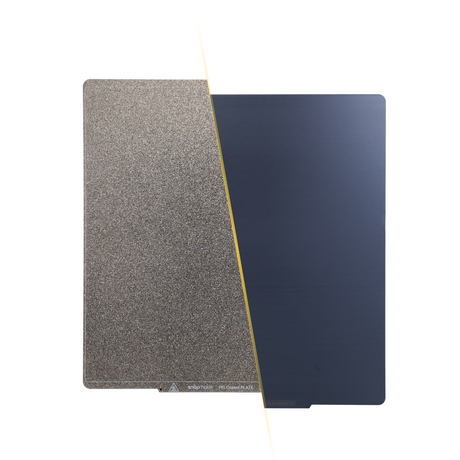
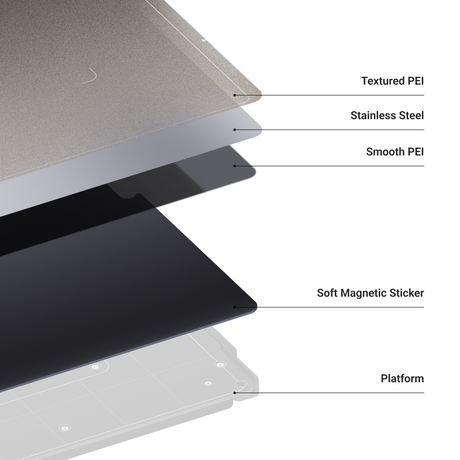
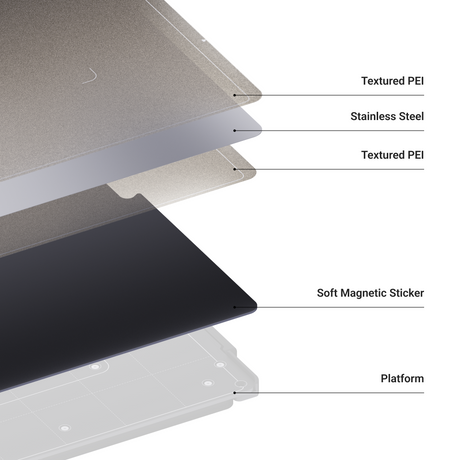
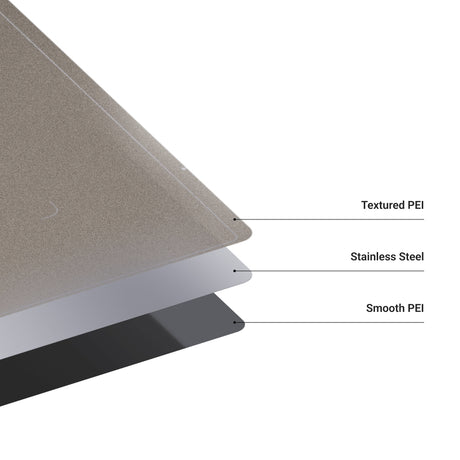
![[REPLACEMENT] DOUBLE-SIDED PEI GLASS PLATE FOR SNAPMAKER J1/J1S](http://eu.snapmaker.com/cdn/shop/products/J1__1_1000_1000_b5408d1b-36b8-4214-a7e8-48cd1596178a.png?v=1667914597&width=460)
![[REPLACEMENT] DOUBLE-SIDED PEI GLASS PLATE FOR SNAPMAKER J1/J1S](http://eu.snapmaker.com/cdn/shop/products/J1__2_1000_1000_356d2fa6-31d4-4e94-b6a1-bc6419b48704.png?v=1667914597&width=460)
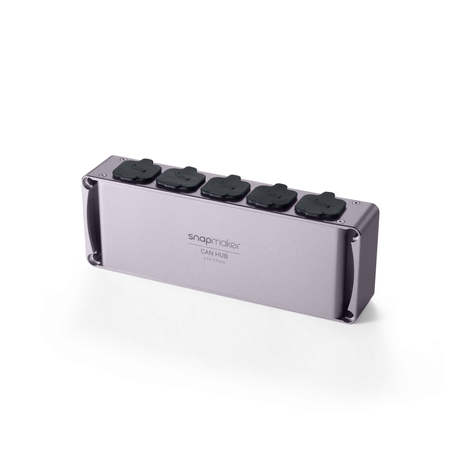
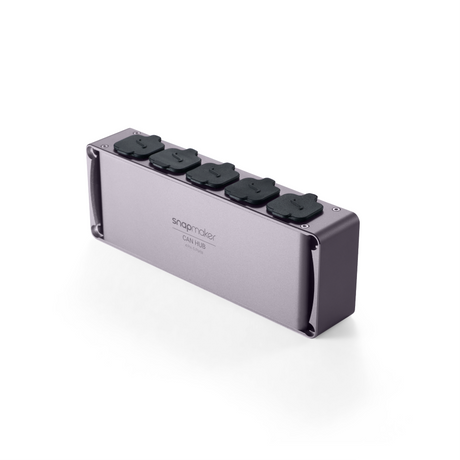

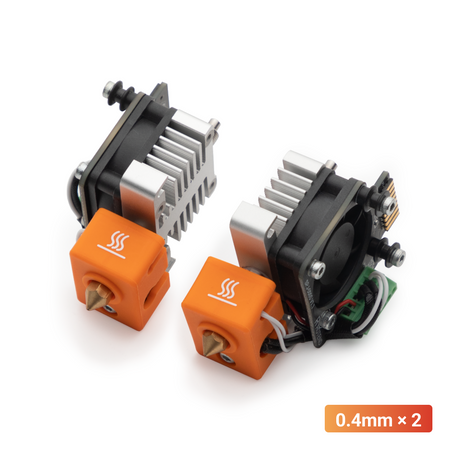
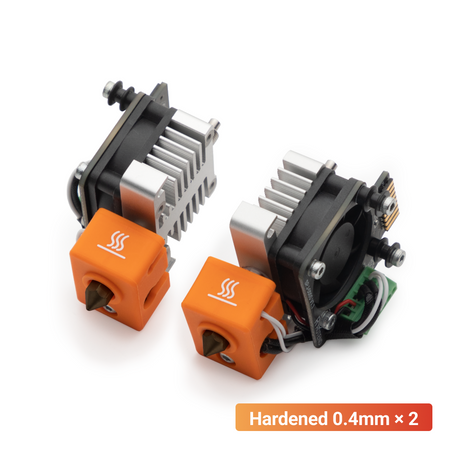
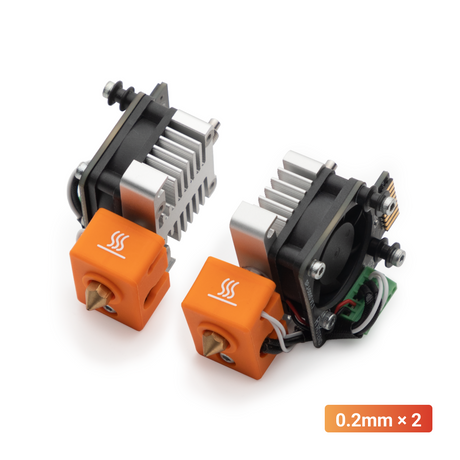
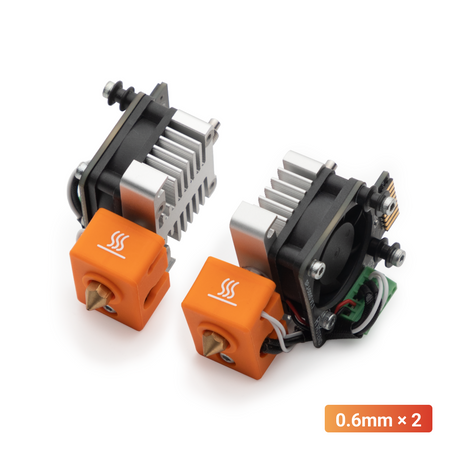
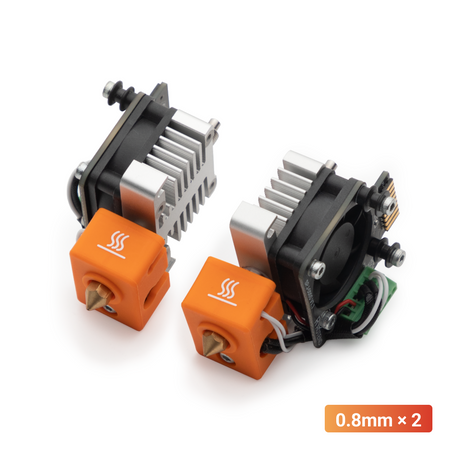
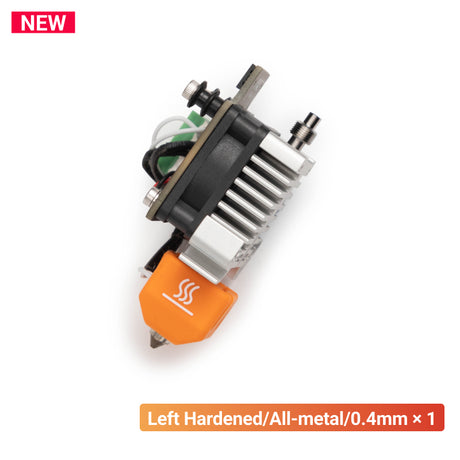
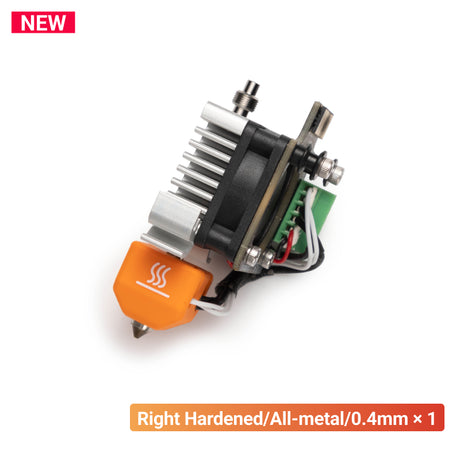
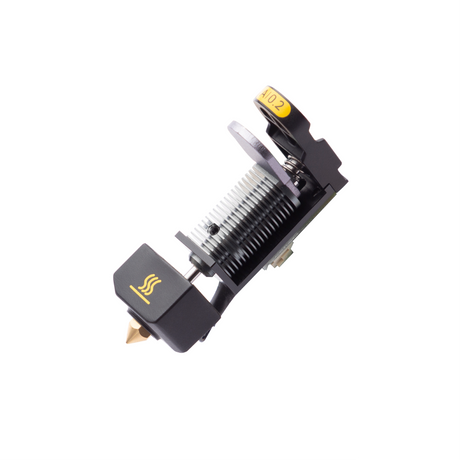
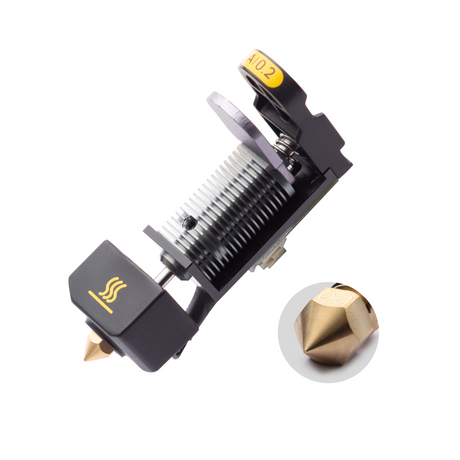
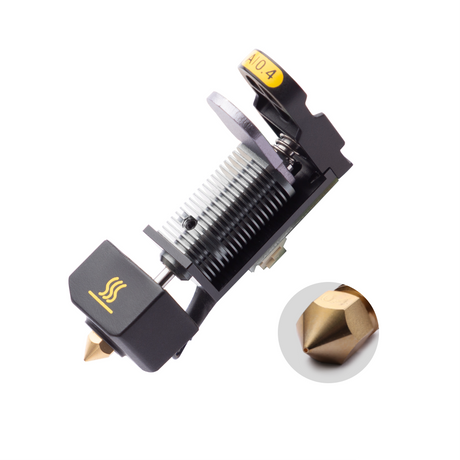
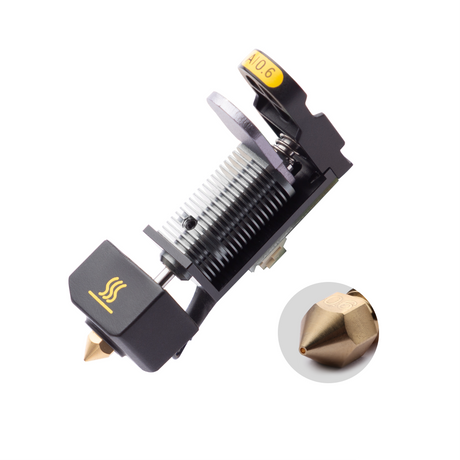
![[REPLACEMENT] PAIRED HOT ENDS FOR SNAPMAKER J1/J1S (0.2/0.4/0.6/0.8MM)](http://eu.snapmaker.com/cdn/shop/products/J1__1_1000_1000_f7d7fea5-9158-44bf-9263-328db6b9980f.png?v=1716458123&width=460)
