FAQs
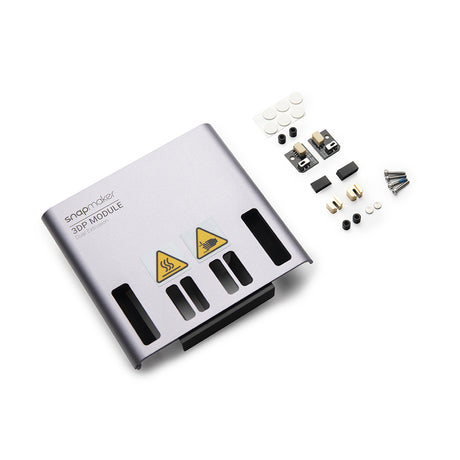
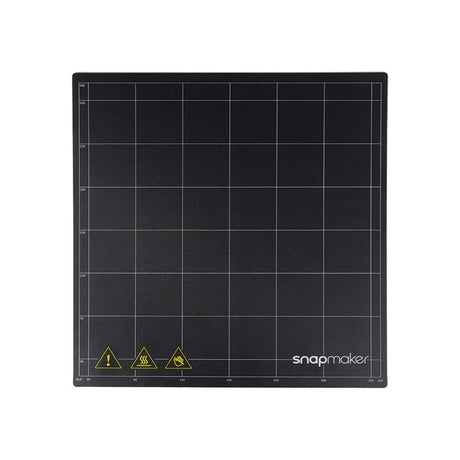
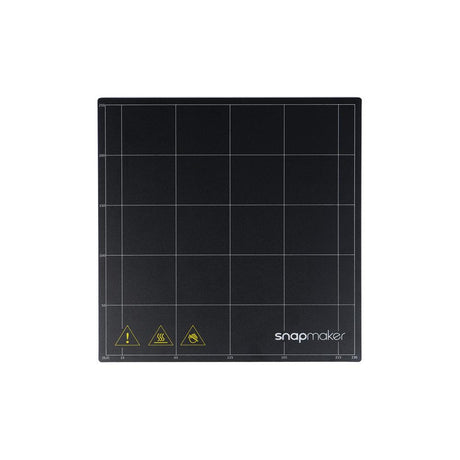
Print Sheet with Double Sided Printing Stickers for Snapmaker 2.0
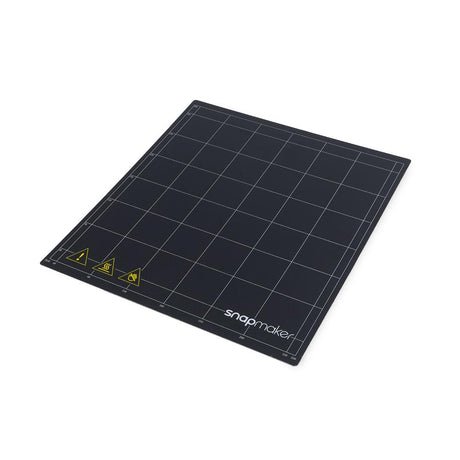
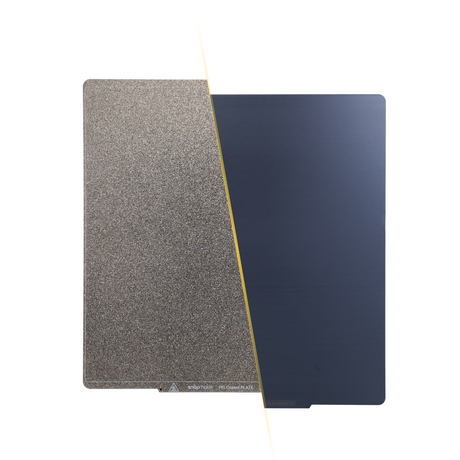
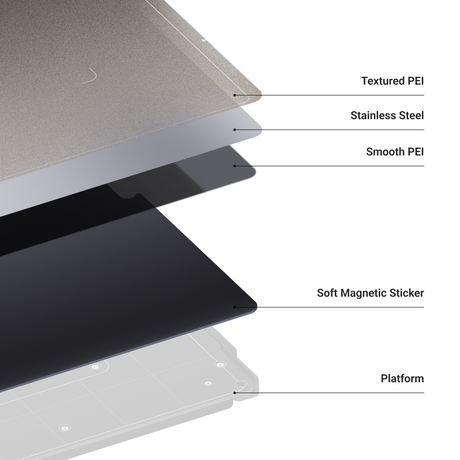
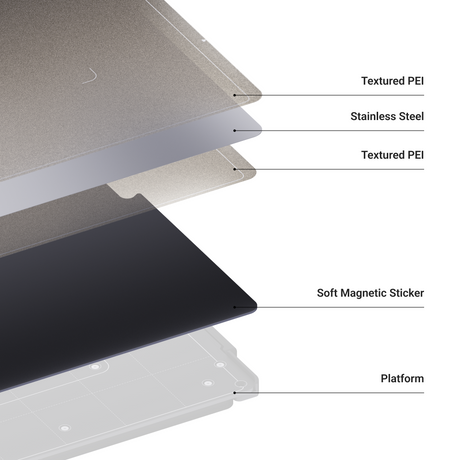
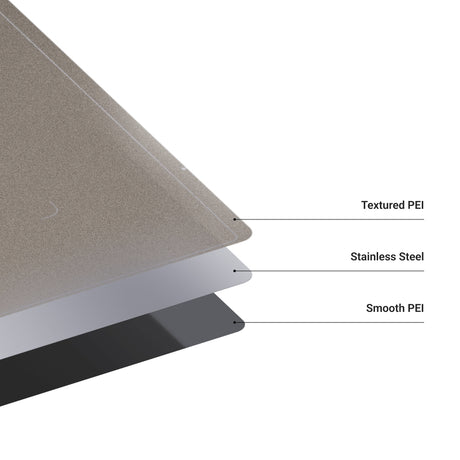
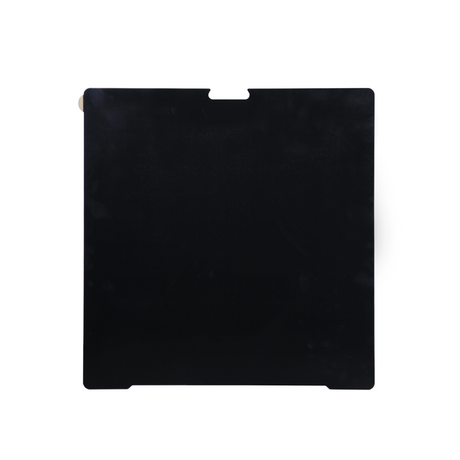
From €23,19 EUR€28,99Unit price /UnavailableIn stockDual-sided PEI Steel Sheet with Soft Magnetic Sticker Kit for Snapmaker Artisan
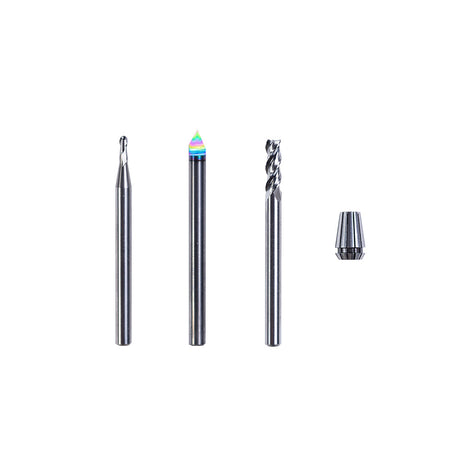
From €43,99 EUR€54,99Unit price /UnavailableIn stockCNC Bits - 4mm Shank (3 Bits, with Spindle collet)
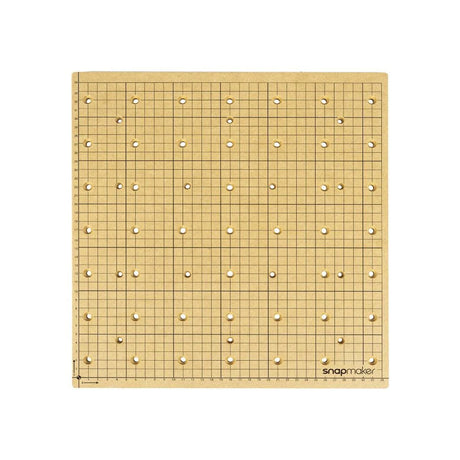
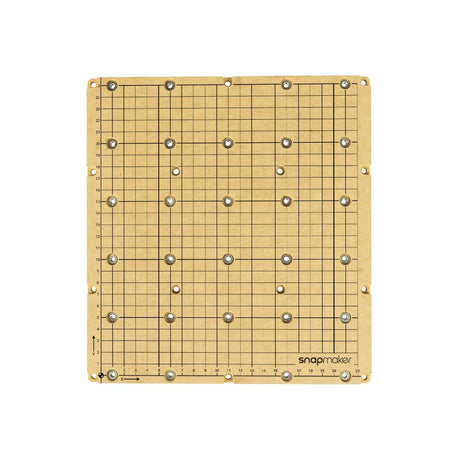
€23,99 EUR€29,99Unit price /UnavailableIn stockCNC Platform (MDF Wasteboard) for Snapmaker 2.0
From €11,50 EUR€22,99Unit price /UnavailableIn stock
1. How does Snapmaker Bracing Kit improve the performance of Linear Modules?
Snapmaker Bracing Kit strengthens the rigidity of all Linear Modules, enhancing machining quality while minimizing the need for slider tension adjustments, repairs, and maintenance tasks.
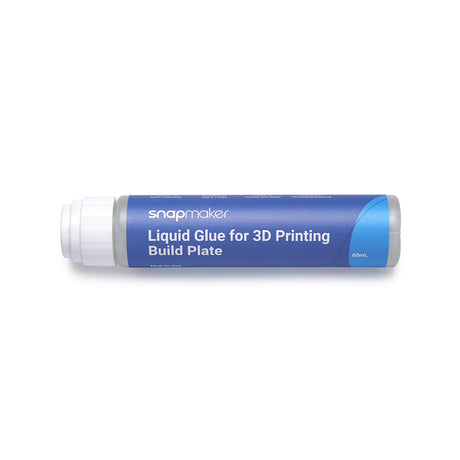
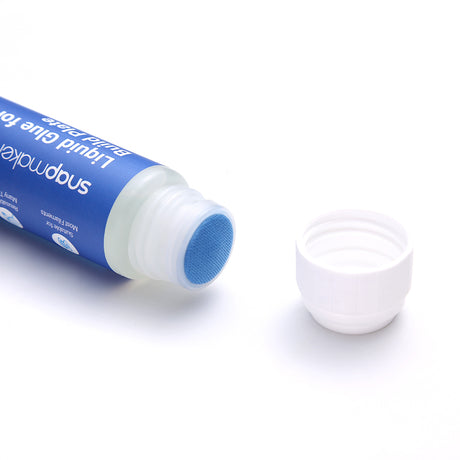
2. Can I use Snapmaker Liquid Glue on all types of 3D printer heated beds?
Yes, Snapmaker Liquid Glue is versatile and can be used on various heated bed surfaces, including textured, glass, and flexible types. It enhances adhesion between the model and the heated bed, reducing printing errors and deformation. Additionally, it's compatible with a variety of 3D printing filament types such as PLA, PETG, PET, ABS, HIPS, ASA, and TPU.
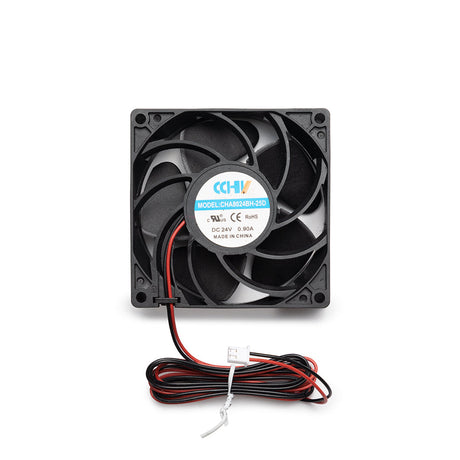
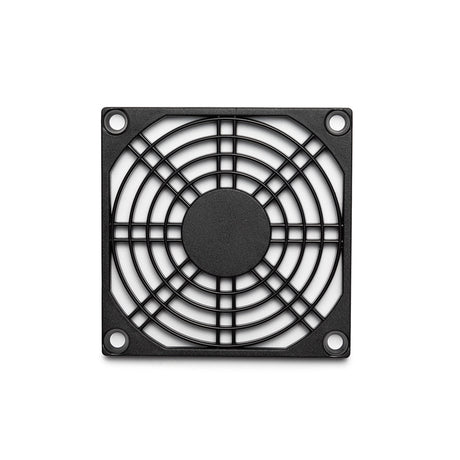
3. What is the maximum airflow of Snapmaker Boosted Exhaust Fan?
Snapmaker Boosted Exhaust Fan has a maximum airflow of 95 CFM. (Note: The included Exhaust Fan in the package of Enclosure for Snapmaker Artisan has a maximum airflow of 36CFM, which is sufficient for the use of the 10W Laser Module. If you desire better fume extraction, you can upgrade it.)
4. What is the compatibility of Snapmaker Dual-sided PEI Steel Plate with Soft Magnetic Sticker Kit?
The Dual-sided PEI Steel Plate with Soft Magnetic Sticker Kit is currently compatible only with Snapmaker Artisan 3-in-1 3D printer.
5. What wavelengths of laser does Snapmaker safety goggles protect against?
Snapmaker goggles provide protection for lasers in the wavelength range of 190–540 nm (OD6+) and 800–1700 nm (OD4+), covering ultraviolet, violet, blue, green, and infrared lasers.
6. When should I replace the FFC cable of the print head on J1/J1s IDEX 3D printer?
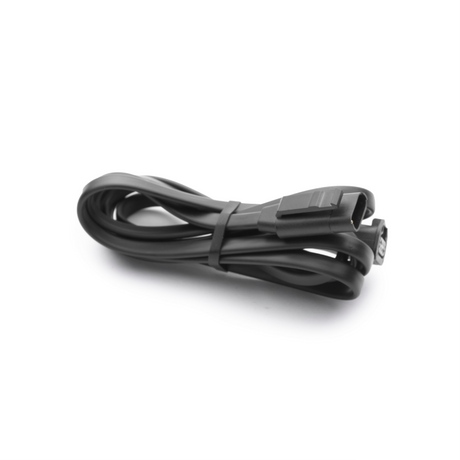
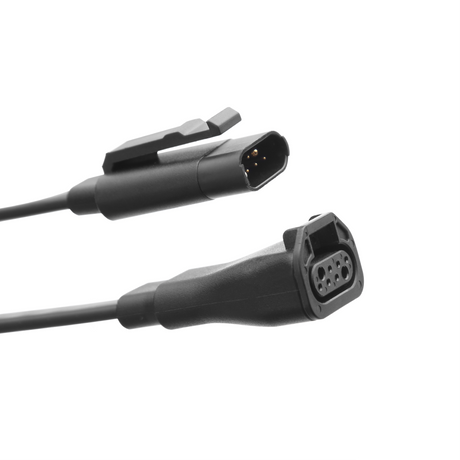
Snapmaker FFC cable is for the connection between the extruder and PCB. You should replace the FFC cable in the following situations:
1. If the print head FFC cable shows visible damage, such as severe folding marks or tears.
2. When experiencing abnormal extruder temperature control issues that are confirmed to be caused by the FFC cable.
FAQs
1. How does Snapmaker Bracing Kit improve the performance of Linear Modules?
Snapmaker Bracing Kit strengthens the rigidity of all Linear Modules, enhancing machining quality while minimizing the need for slider tension adjustments, repairs, and maintenance tasks.
2. Can I use Snapmaker Liquid Glue on all types of 3D printer heated beds?
Yes, Snapmaker Liquid Glue is versatile and can be used on various heated bed surfaces, including textured, glass, and flexible types. It enhances adhesion between the model and the heated bed, reducing printing errors and deformation. Additionally, it's compatible with a variety of 3D printing filament types such as PLA, PETG, PET, ABS, HIPS, ASA, and TPU.
3. What is the maximum airflow of Snapmaker Boosted Exhaust Fan?
Snapmaker Boosted Exhaust Fan has a maximum airflow of 95 CFM. (Note: The included Exhaust Fan in the package of Enclosure for Snapmaker Artisan has a maximum airflow of 36CFM, which is sufficient for the use of the 10W Laser Module. If you desire better fume extraction, you can upgrade it.)
4. What is the compatibility of Snapmaker Dual-sided PEI Steel Plate with Soft Magnetic Sticker Kit?
The Dual-sided PEI Steel Plate with Soft Magnetic Sticker Kit is currently compatible only with Snapmaker Artisan 3-in-1 3D printer.
5. What wavelengths of laser does Snapmaker safety goggles protect against?
Snapmaker goggles provide protection for lasers in the wavelength range of 190–540 nm (OD6+) and 800–1700 nm (OD4+), covering ultraviolet, violet, blue, green, and infrared lasers.
6. When should I replace the FFC cable of the print head on J1/J1s IDEX 3D printer?
Snapmaker FFC cable is for the connection between the extruder and PCB. You should replace the FFC cable in the following situations:
1. If the print head FFC cable shows visible damage, such as severe folding marks or tears.
2. When experiencing abnormal extruder temperature control issues that are confirmed to be caused by the FFC cable.
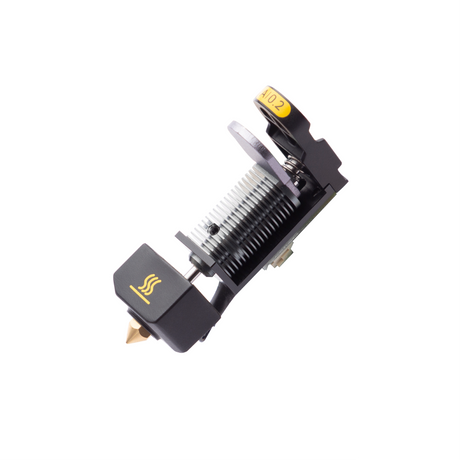
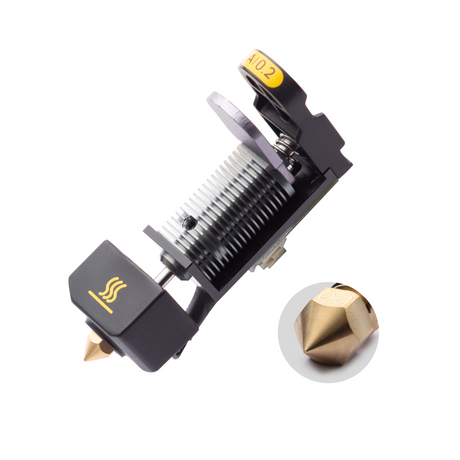
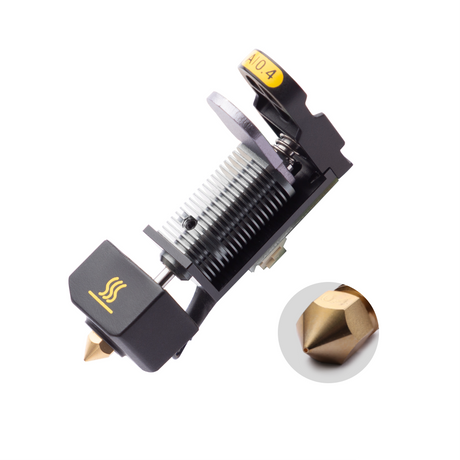
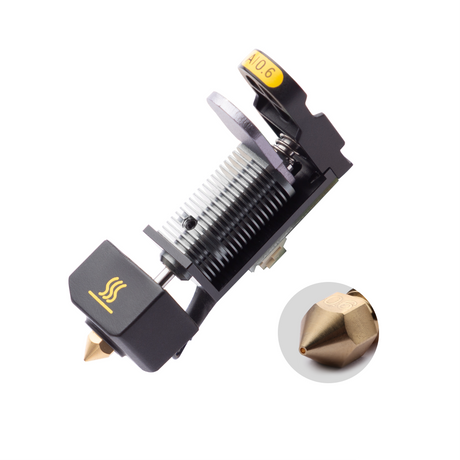
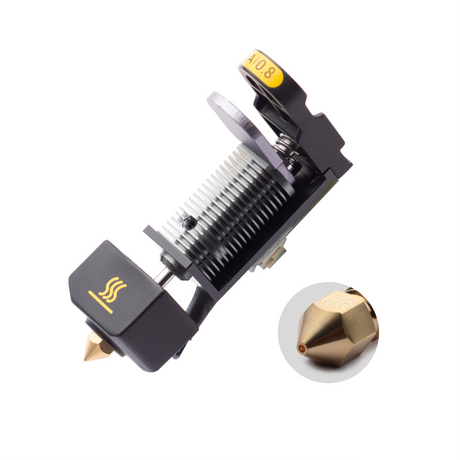
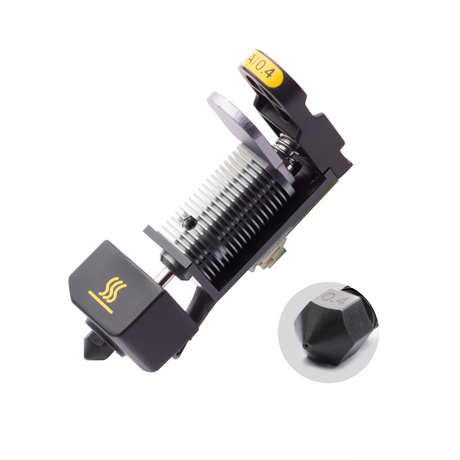
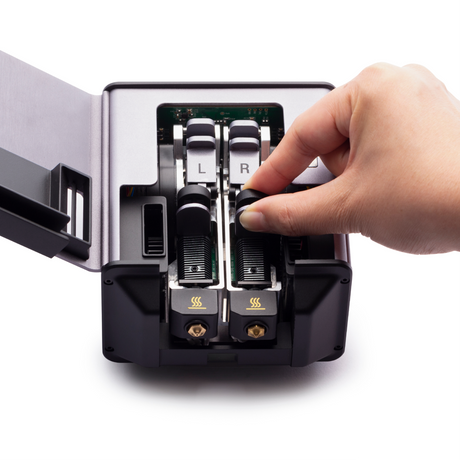
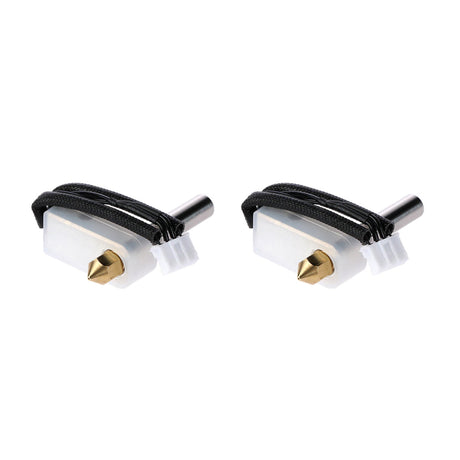

![[REPLACEMENT] PAIRED HOT ENDS FOR SNAPMAKER J1/J1S (0.2/0.4/0.6/0.8MM)](http://eu.snapmaker.com/cdn/shop/products/J1__1_1000_1000_f7d7fea5-9158-44bf-9263-328db6b9980f.png?v=1716458123&width=460)
